

")
How to Install Front and Rear Bumpers on a 1968 Chevy Camaro (Step-by-Step)
Why Proper Bumper Installation Matters
When restoring a 1968 Chevy Camaro, few details make as big of a difference as the bumpers. Poorly aligned bumpers can throw off the entire look of your build—whether it’s a crooked rear bumper or a front bumper that looks like it’s frowning. Since bumpers are among the first things people notice, getting the installation right is critical to a show-worthy finish.
To walk through the process, we teamed up with Hot Rods by Dean in Phoenix, who used Auto Metal Direct (AMD) Camaro bumpers and a front air damn spoiler to show exactly how to get factory-correct fitment with modern reproduction parts.
Step-by-Step Installation Guide
1. Unbox and Inspect Your AMD Bumpers
Reproduction 1968 Camaro bumpers from Auto Metal Direct arrive carefully packaged and ready to go. These OE-style replacements are made to factory specs and are virtually indistinguishable from originals.
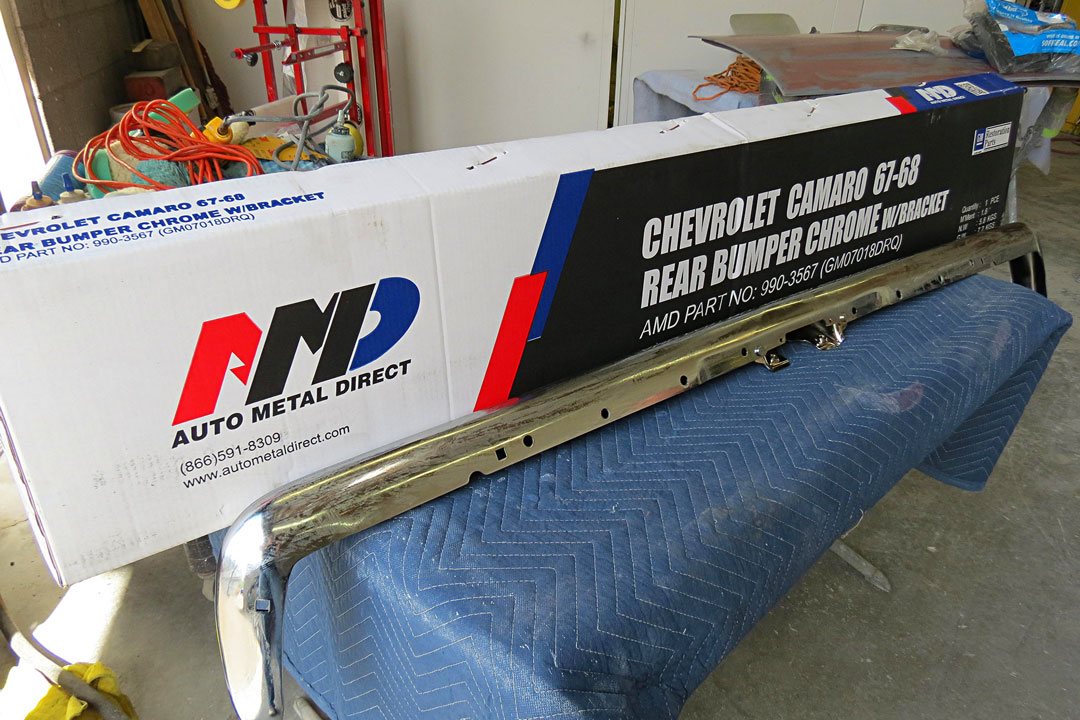
👉 Shop 1968 Camaro Front Bumper | Shop 1968 Camaro Rear Bumper
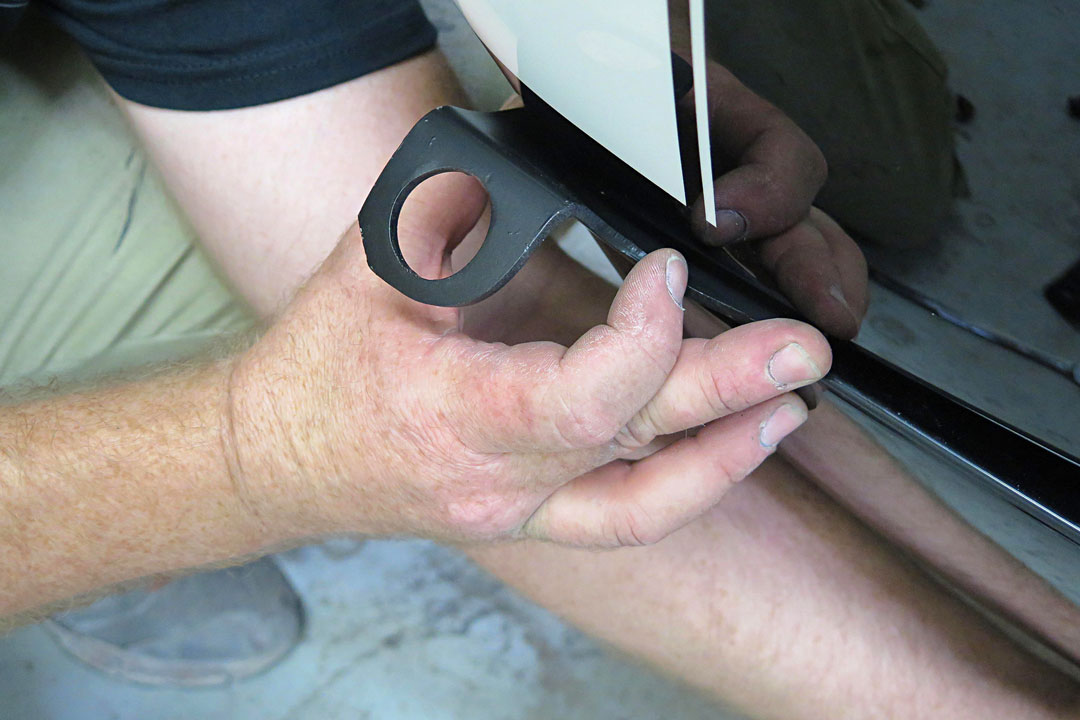
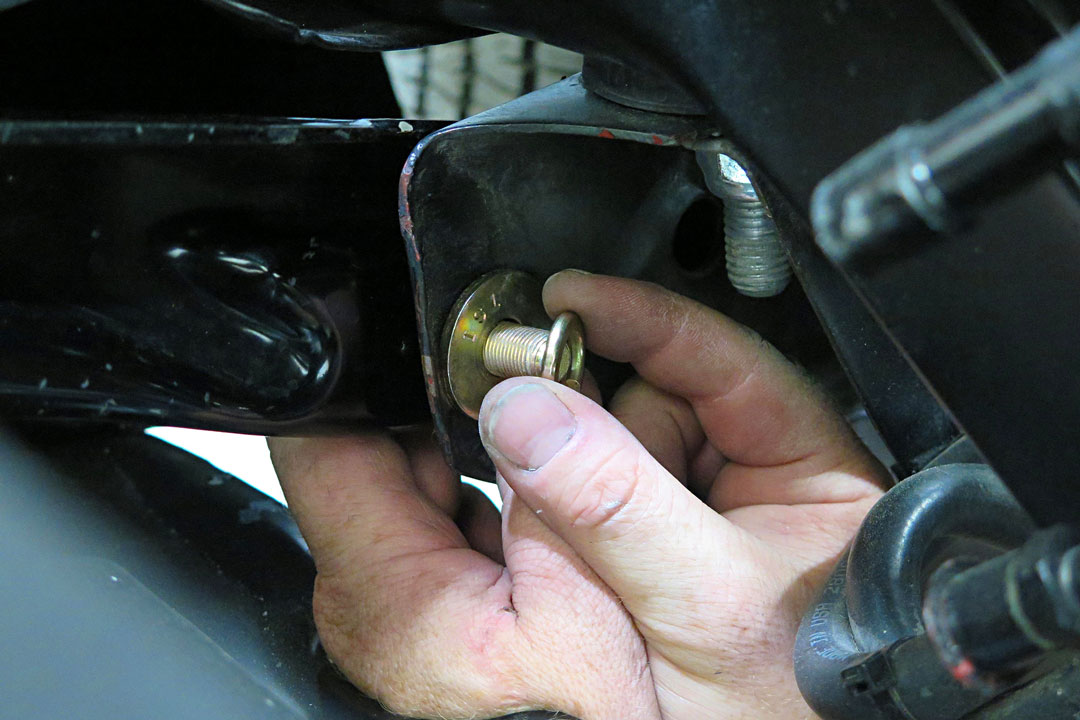
2. Install the Bumper Brackets
Attach the bumper brackets first, but do not tighten the fasteners yet. Keeping them loose allows for adjustment once the bumper is test-fitted.
👉 Camaro Bumper Brackets & Hardware
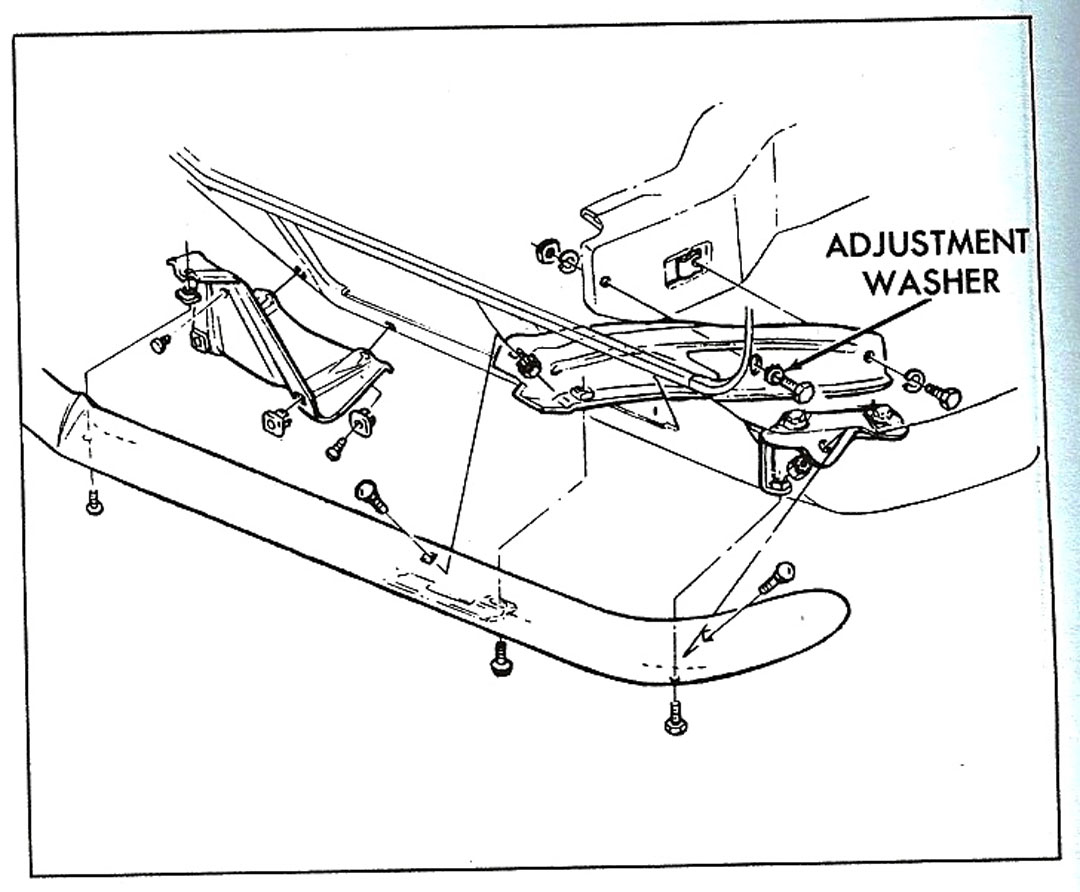
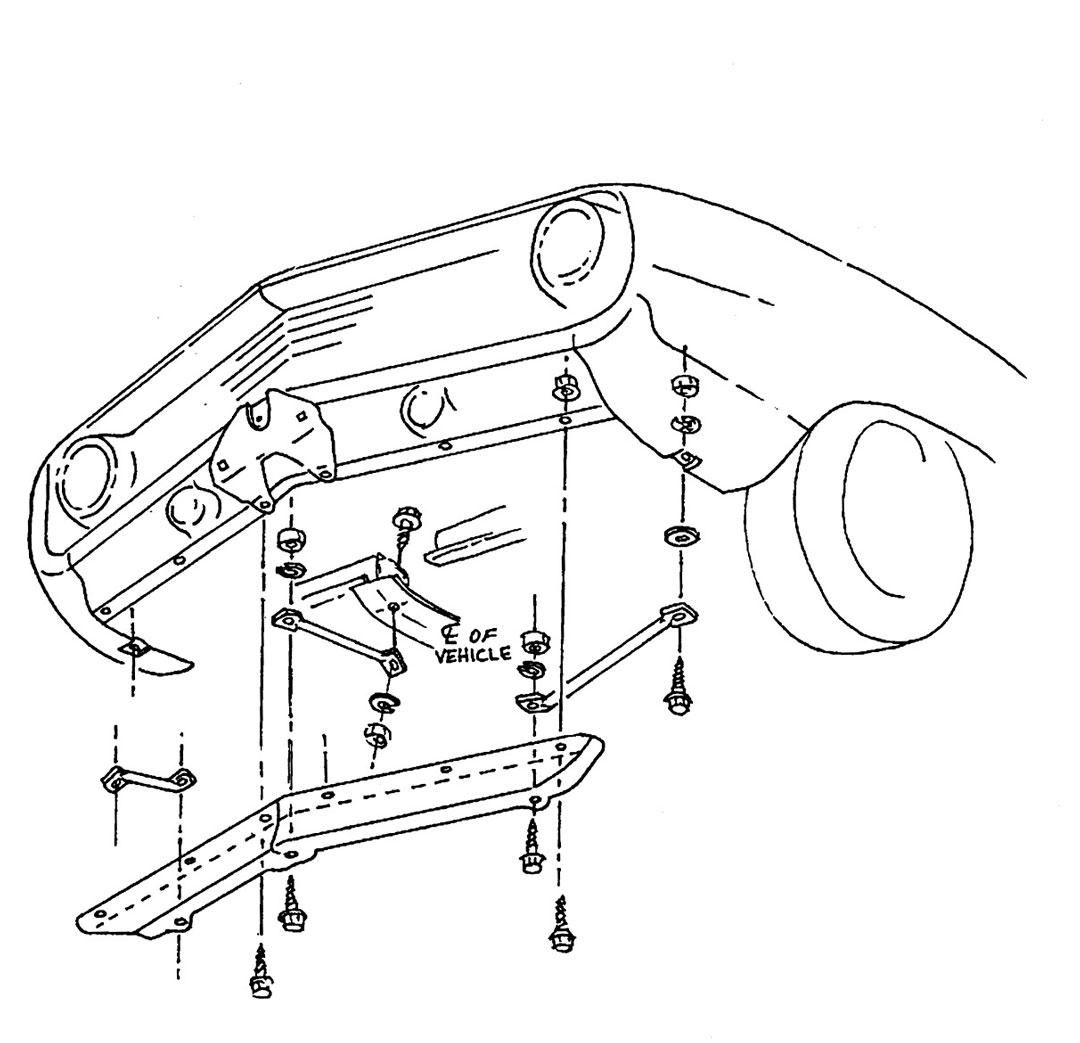
3. Reference the Assembly Diagram
Refer to Chevrolet’s illustrated parts breakdown for the 1967–1969 Camaro front bumper. This diagram helps confirm bracket and hardware orientation.
4. Align the Bumper with the Stone Guard
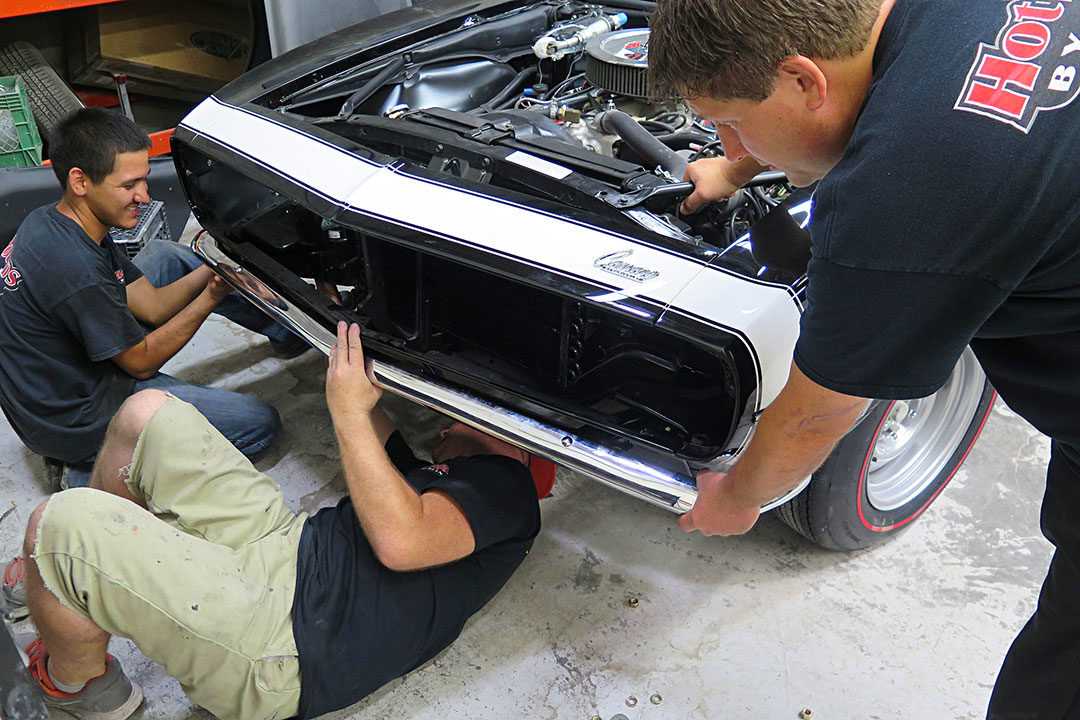
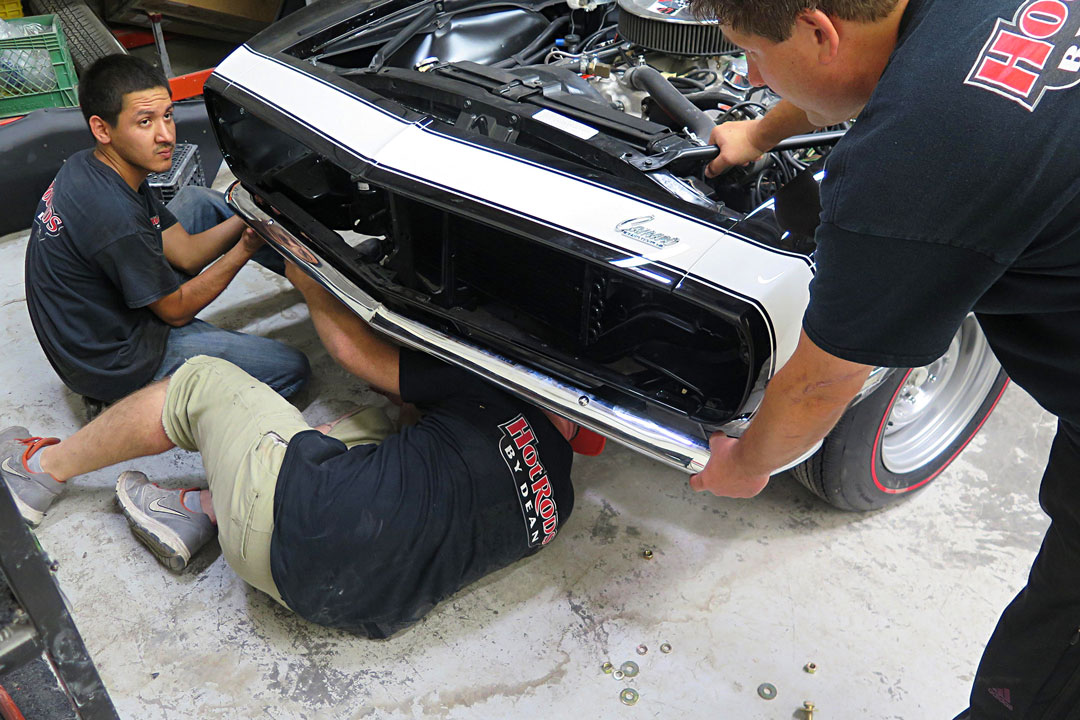
Use the front stone guard (fascia) as a reference point. The bumper should run parallel with the stone guard. Having a helper at each end ensures proper support while centering the bumper.
5. Snug the Fasteners and Check Fitment
At Hot Rods by Dean, the team positioned the bumper, snugged the fasteners, and then performed a fitment check. Always double-check alignment before fully tightening.
6. Use the Correct Fasteners
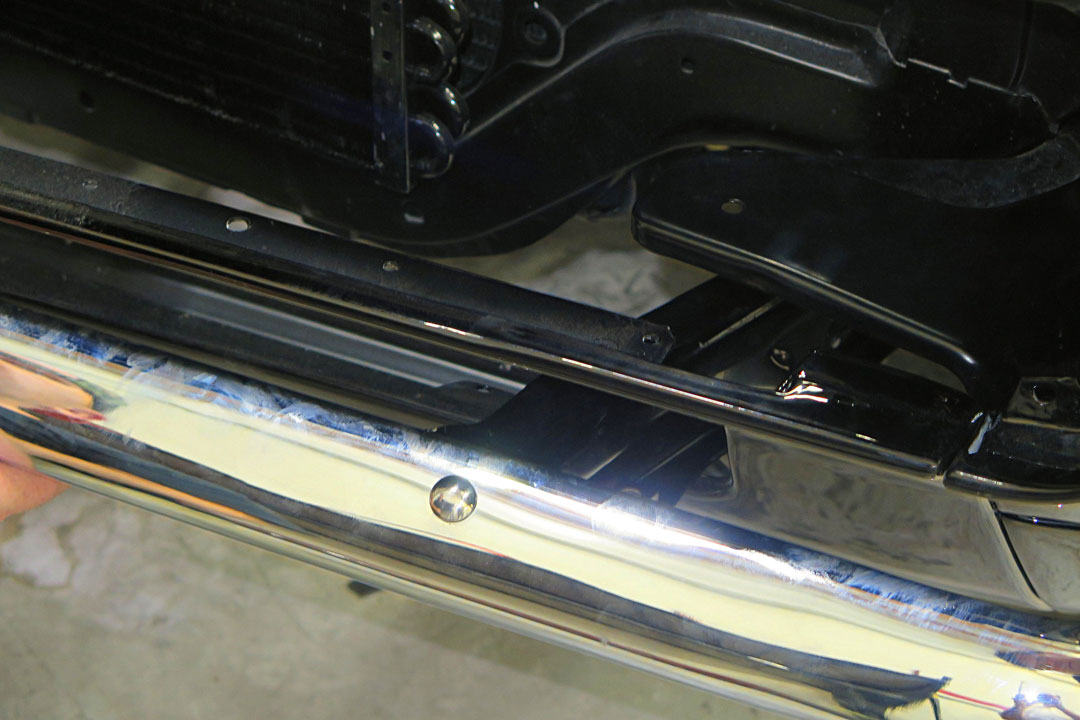
AMD offers the correct cad-plated fasteners that replicate the originals. Handle these carefully to avoid scratching the surface. The front bumper bracket inserts are located just below the subframe mount.
7. Verify Alignment with Body Lines
Ensure both sides of the bumper run parallel with the fender body line and the stone guard. A sharp eye here makes the difference between “good enough” and factory correct.
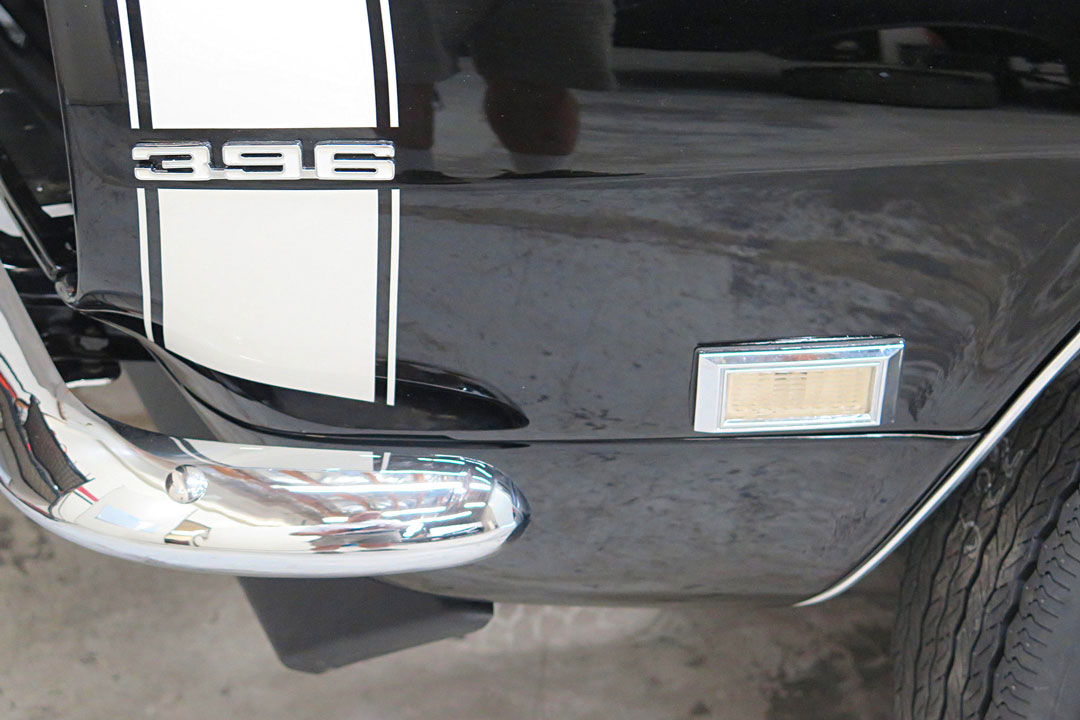
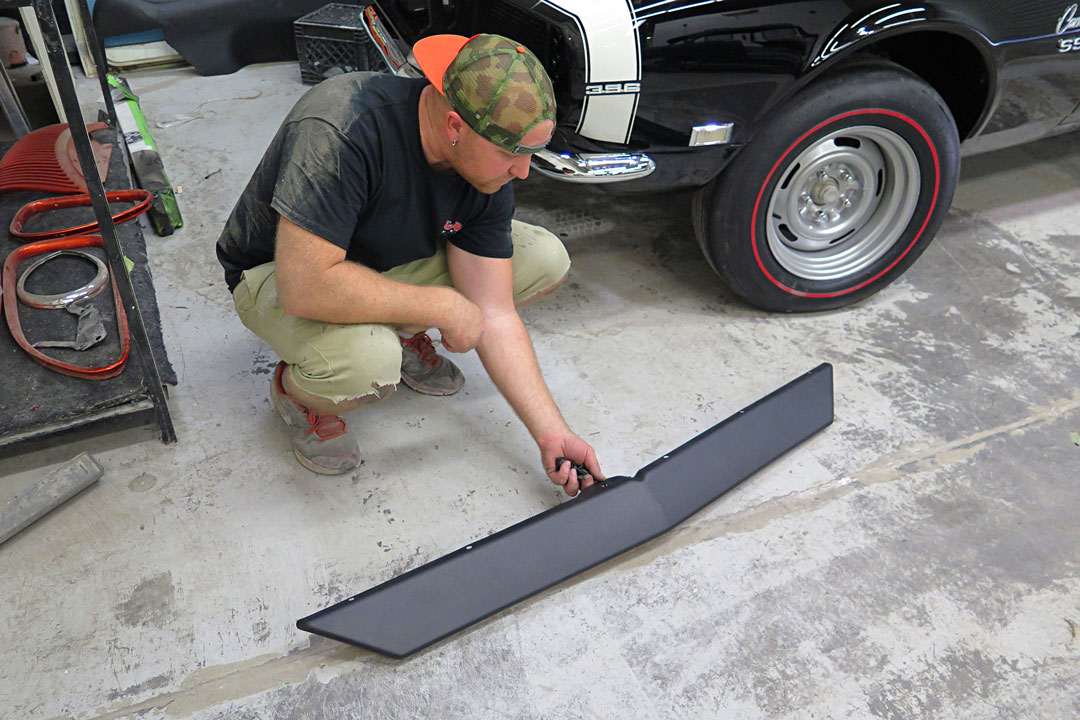
8. Add a Front Chin Spoiler (Optional but Recommended)
The AMD Camaro chin spoiler or air dam spoiler is a must-have upgrade that adds sporty styling to any first-gen Camaro.
👉 1967–1969 Camaro Front Spoiler
9. Review the Chin Spoiler Hardware
Follow the illustrated breakdown for proper spoiler installation. This modification is simple since Chevrolet included all the necessary mounting provisions from the factory.
10. Bolt On the Chin Spoiler
Because it’s a factory-style item, installation is straightforward—just bolt it on. The spoiler gives the Camaro a sharper, more aggressive look.

11. Install the Rear Bumper
The rear bumper installation is similar to the front, with different bracketry. Snug the fasteners with help from a friend, check alignment, then tighten fully. In some cases, shims may be needed for precise adjustment.

12. Final Adjustment at the Tailpanel
Secure the bumper brackets to the bumper first, then attach the full assembly to the tailpanel. Adjust primarily at the tailpanel and use shims as necessary to ensure the bumper sits parallel with the quarter-panels.

Pro Tips from the Shop Floor
-
Always have at least one helper—bumpers are awkward to handle alone.
-
Don’t tighten hardware until final fitment is confirmed.
-
Use shims sparingly but strategically for precise alignment.
-
Double-check body line alignment before final torque.
Final Thoughts
With Auto Metal Direct’s reproduction Camaro bumpers, proper installation is easier than ever. These parts deliver factory-correct looks with modern quality, and when installed carefully, they transform the appearance of your 1968 Camaro. Whether you’re building a driver, a pro-touring machine, or a concours restoration, getting your bumpers right is essential.
👉 Shop All 1967–1969 Camaro Bumpers, Brackets, and Hardware at AMD
Related Articles
ALL NEW TRIM for your Mopar A-Body
Jan 3, 2025 by Jason
Tech Articles
Making an A-body Whole Again with Hard to Find Metal from AMD
Aug 29, 2024 by Jason
Tech Articles