


Factory-Correct Repairs for a Classic Mopar a 1971 Challenger Convertible A-Pillar Splice
Factory-Correct Repairs for a Classic Mopar: 1971 Challenger Convertible A-Pillar Splice
It’s no secret that there aren’t a lot of virgin E-bodies left out there. Oh, the barn finds pop up now and then, but the vast majority of the restorable ones are actually ready for their second go-around.
In many ways, that’s a good thing as it kept them from being parted out and scrapped. The downside to many of these cars, though, is that their original restoration was too often closer to collision repair than an actual correct restoration; the intent of the work was to make it look good but not necessarily accurate.
Often, making it correct would have involved considerably more time, effort, and skill than was available to achieve what could have been considered a minimal additional benefit.
Identifying Improper A-Pillar Repairs in Mopar Restorations
Muscle Car Restorations (MCR) sees this sort of thing a lot in their restoration work. Previously repaired areas now have to be redone to get them back to factory correct. Of course, the rest of the body hasn’t been suspended in time. Areas that may have been just fine during the first resto may now require repair.
A Case Study: 1971 Challenger Convertible A-Pillar Splice
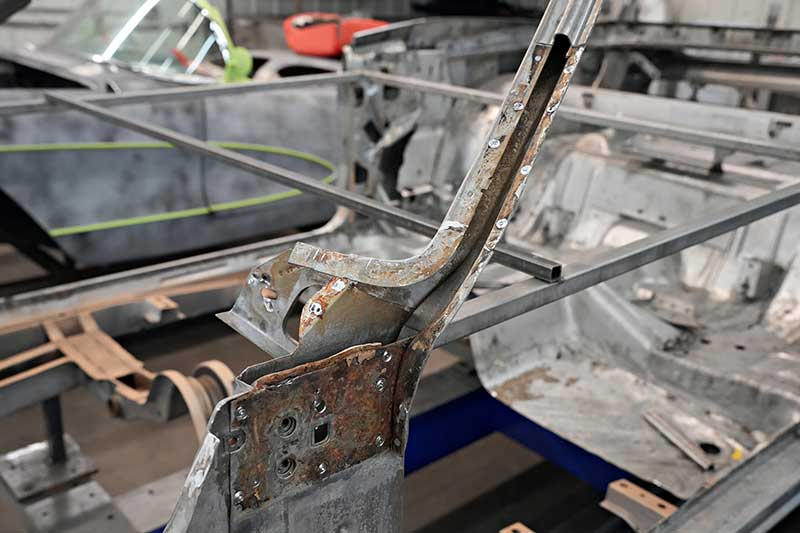
A good example of all of this is this ’71 Challenger convertible. The driver’s side lower A-pillar had been replaced. Instead, someone welded a new lower corner over the existing section and butt-welded it to the cowl.
The result looked acceptable to an untrained eye, but the structure was incorrect. The firewall and cowl should sit on top of the A-pillar corner, with all three components spot-welded together.
Helping out MCR in this case is that they are also replacing the firewall and cowl, so access to the A-pillar corner is now considerably easier. This repair could have been done without replacing those parts. It would have been trickier to do. Perhaps that’s why the previous repair was done the way it was?
Hardtop vs Convertible: Finding the Right A-Pillar Replacement
This project also highlights another somewhat common restoration issue, and that is the difference between hardtop and convertible models. Some convertible-specific parts are just not available at this time. Hence, the portions of the hardtop versions that are the same are spliced onto the convertible part.
Using Auto Metal Direct Parts for a Clean Splice
Since convertible A-pillars are not available and the top corner of this one (the part that’s different from hardtops) was still in good condition, MCR obtained a hardtop version from Auto Metal Direct and spliced in only the area that needed replacement.
This is common practice with MCR; that is, retaining as much of the original sheet metal as is reasonably possible. Only replacing the portions of a panel that are damaged can minimize the amount of the body shell that needs to be disturbed.
In this case, that’s the only way this repair can practically be done.
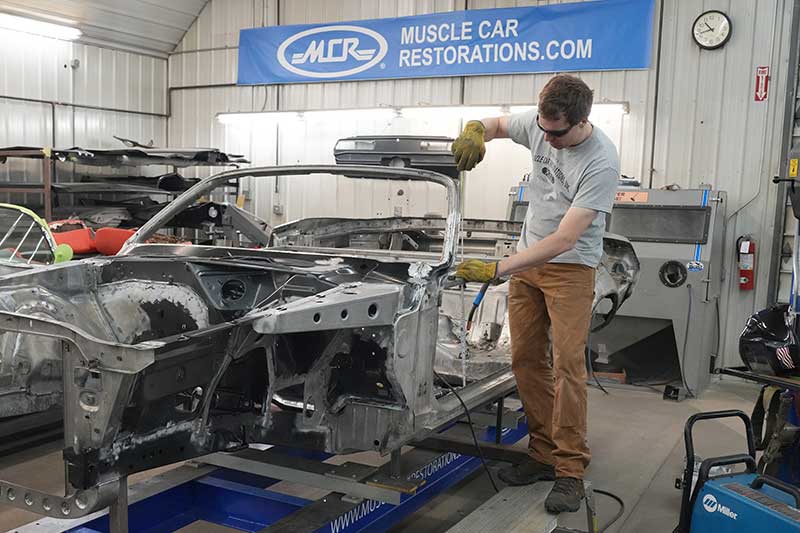 |
Project Overview: Factory-Correct A-Pillar Repair Begins |
 |
 |
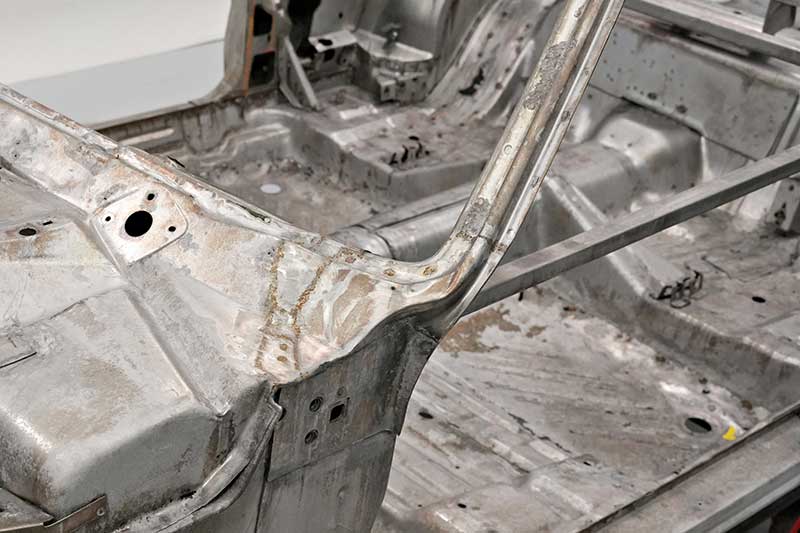
Identifying Improper Previous RepairsAt some point in the past, someone spliced the lower part of this A-pillar over the top of the existing structure and attempted to butt weld it to the cowl. It may have served the purpose back then. However, no professional restoration shop would leave it this way today. |
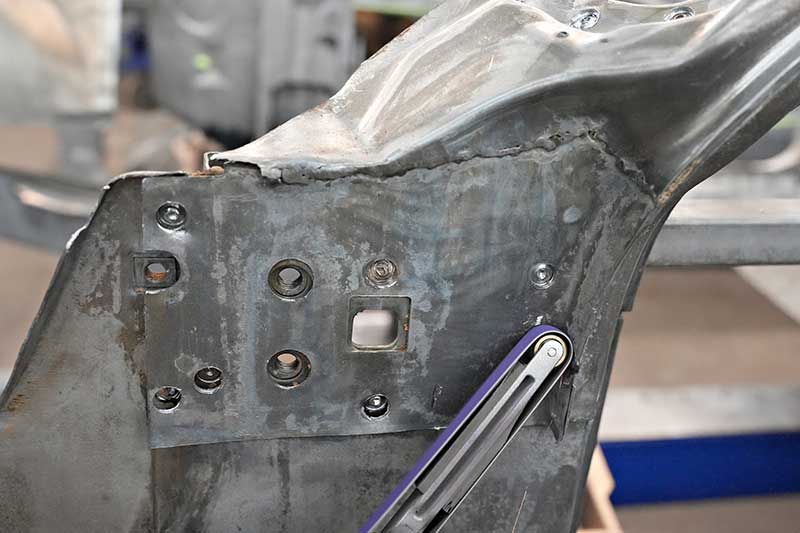
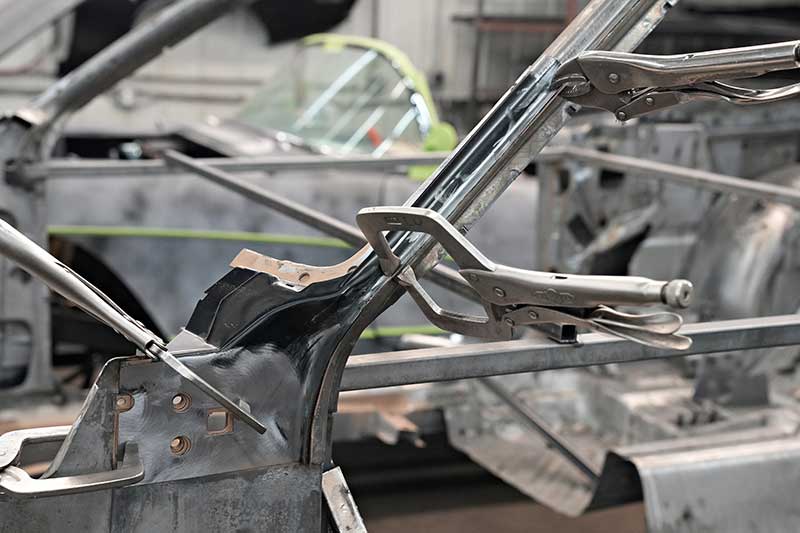
Proper A-Pillar Alignment ExplainedThis image shows how the A-pillar is supposed to fit under the firewall and cowl. The correct sequence is only visible now because the firewall and cowl have been removed for access. |
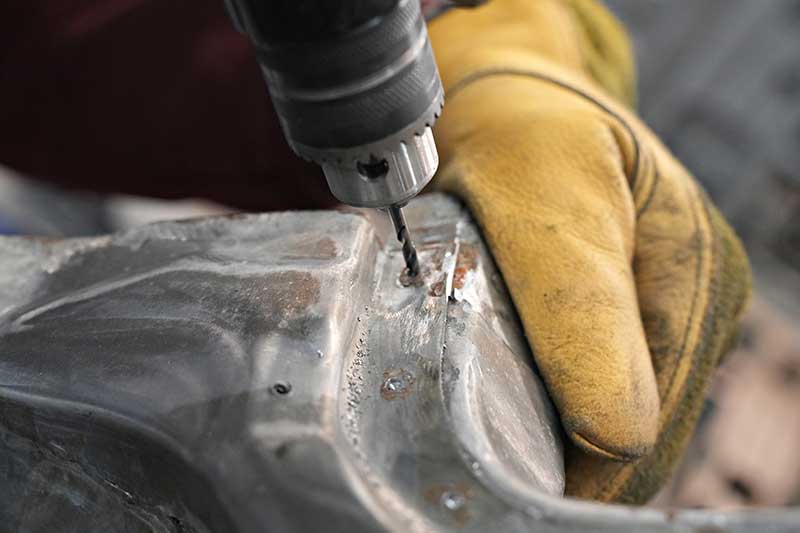 |
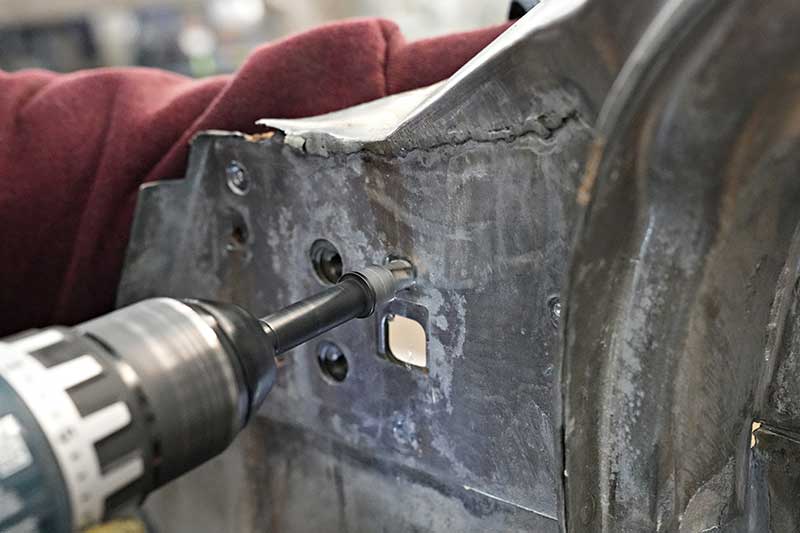
Locating Factory Spot WeldsTo accurately drill out spot welds, they mark the center of each factory weld with a 1/8-inch drill bit. This helps set a locator point for the Rotobroach Cutter. |
 |
Removing Spot Welds with a Rotobroach CutterUsing a 3/8-inch Rotobroach Cutter, the team removes spot welds cleanly. The image shows the cut line from the previous repair, where old and new metal were joined. |
 |
 |
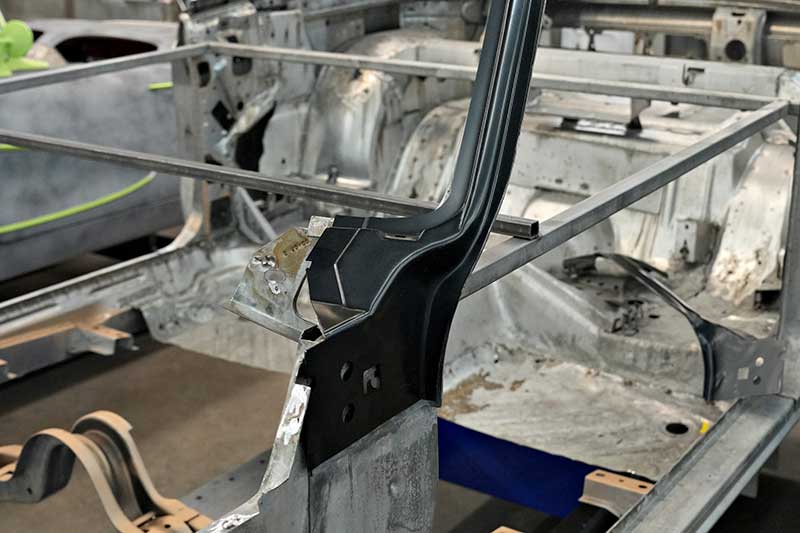
Preparing the AMD Replacement A-PillarBecause the upper convertible A-pillar is different from the hardtop and is not reproduced, MCR will only use the lower portion of a new hardtop A-pillar from Auto Metal Direct. Fortunately, that’s the only section needed. |
Extending the Repair Area for Structural IntegrityThe previous splice didn’t address all of the rust. Since damage now extends further up, MCR will splice the new AMD part high enough to replace the compromised area. |
 |
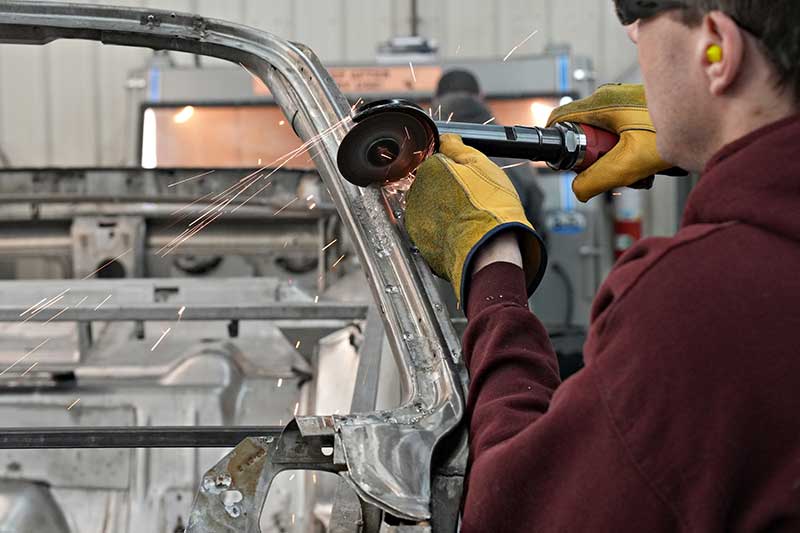
Alternate Spot Weld Removal with Belt FileA 60-grit 3M belt file can be a good alternative for breaking spot welds. |
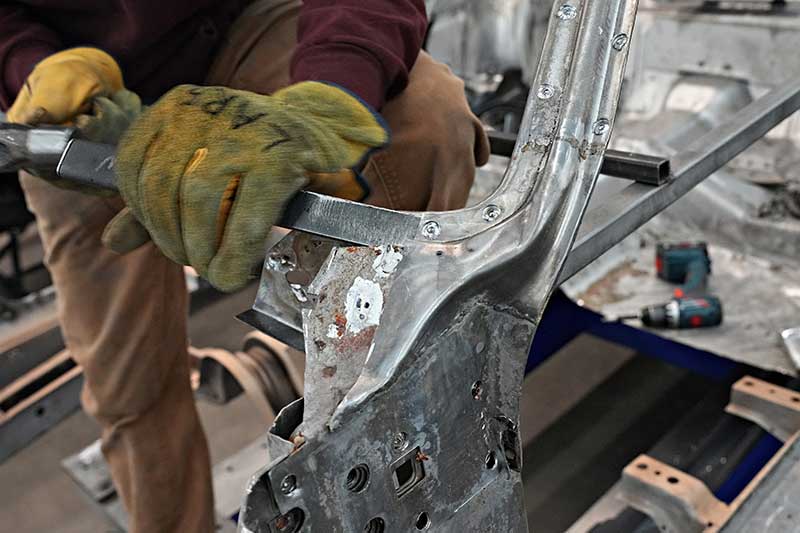 |
Persuading Stubborn WeldsNot all spot welds release cleanly. This image shows a tech using careful force to separate panels when welds won’t break easily on their own. |
 |
 |
Prepping for Welding by Cleaning SurfacesWith the old part removed, the next step is to clean up the surfaces so they are ready to accept new welds. |
Weld Prep with Copperweld Primer for Corrosion ResistanceAfter cleaning all mating surfaces, a coat of Copperweld Weld-Through Primer is applied. This prevents rust from forming between the joined metal sections. Because the inboard lip is folded inward, making spot welds impossible. MCR opts for plug welds for strength and reliability. |
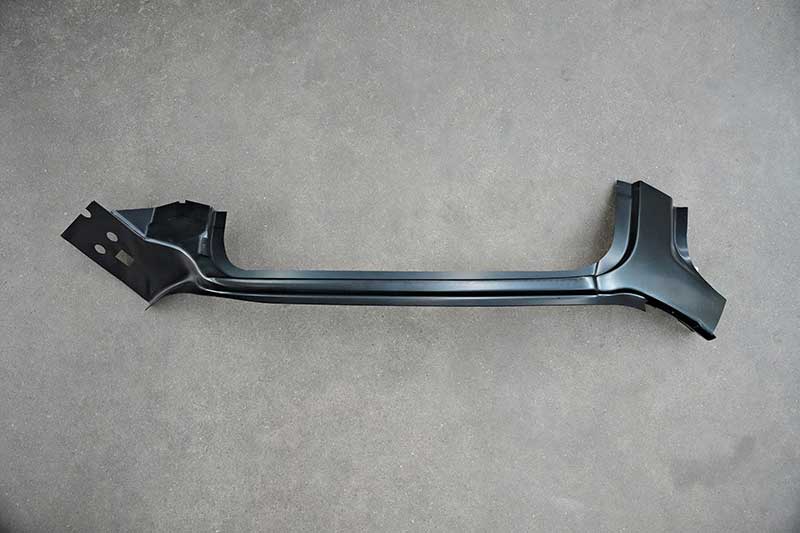 |
Converting a Hardtop A-Pillar to Fit a ConvertibleSince convertible-specific A-pillars are not currently available, MCR uses only the lower section from a hardtop replacement sourced from Auto Metal Direct. If the upper portion had also been damaged, MCR would fabricate a custom part to match the convertible design. |
 |
 |
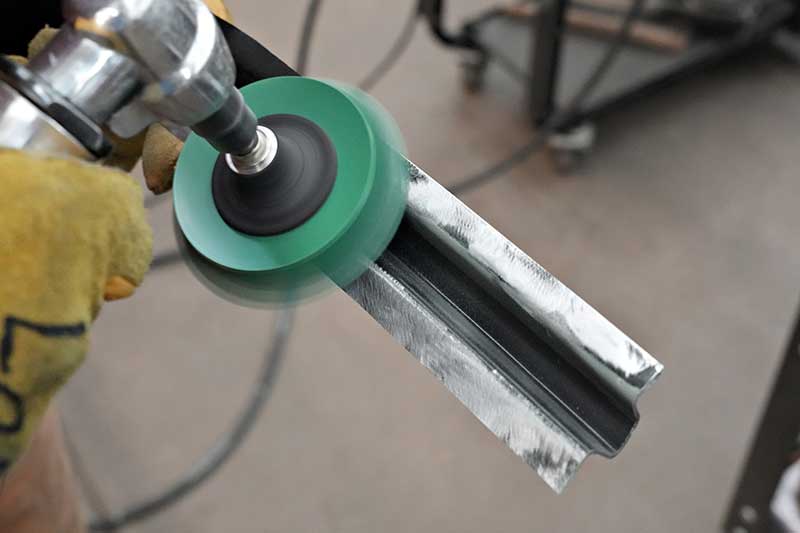
Removing E-Coat from Weld Zones with a Bristle BrushWith the new AMD part cut to fit, the next step is to remove the e-coat that protects the part from rust in all of the weld areas. While spot welding can be done through the E-coat, MCR prefers to remove it from all weld areas. A 3M green bristle brush works great for this. |
Reapplying Primer After Surface PrepOnce the weld zones are fully prepped and cleaned, another application of Copperweld supports corrosion resistance without interfering with welding performance. |
 |
Creating Plug Weld Points with a Rotobroach CutterUsing the same Rotobroach Cutter from earlier steps, MCR creates correctly sized plug weld holes in the new A-pillar. This facilitates accurate fusion with the underlying structure. |
 |
 |
Confirming Panel Fit Before WeldingBefore you start any welding, be sure that the part is properly positioned and solidly clamped in place. A misaligned panel here could create major structural and fitment issues later on. |
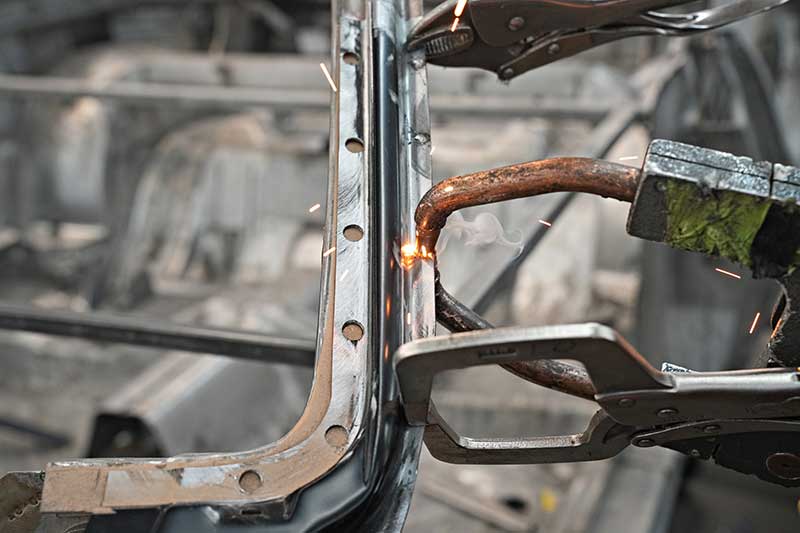
Spot and Plug Welding the A-Pillar in PlaceMCR uses spot welds wherever possible. However, since there is no access to the weld area on the left, plug welds (which are a perfectly good alternative) will be necessary. Once ground down, they blend into the surrounding metal. |
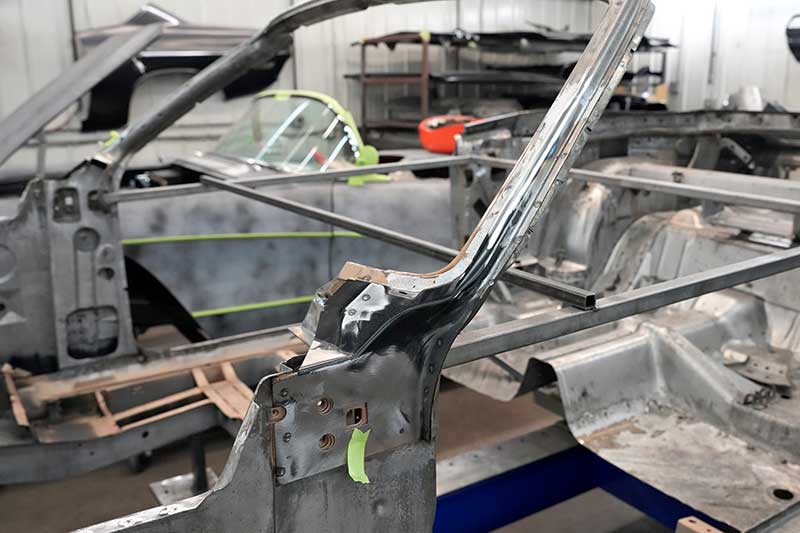 |
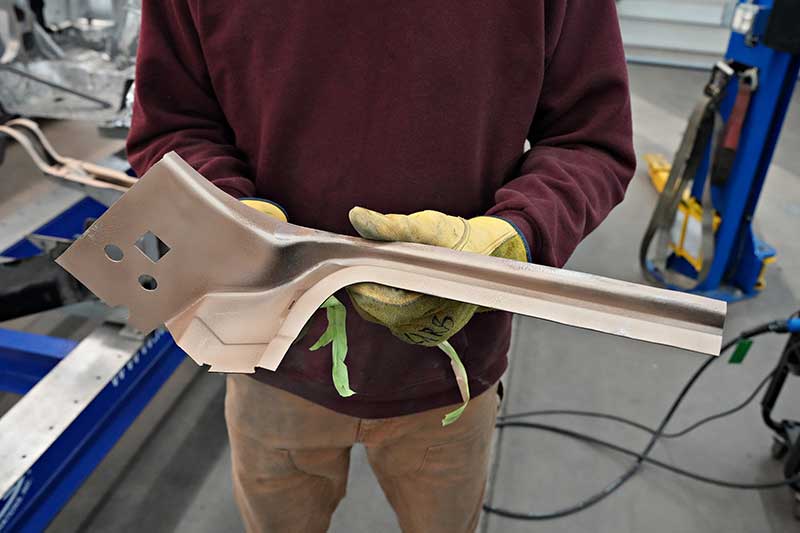
Final View of the Completed A-Pillar RepairThis is how the A-pillar should have been repaired during the first restoration. With the splice done correctly, MCR is now ready to install the new firewall and cowl to complete the structural correction. |
Installation By:
Muscle Car Restorations
Chippewa Falls, WI
musclecarrestorations.com
715-834-2223
Parts By:
Auto Metal Direct
Gainesville, GA
autometaldirect.com
(833) 404-4777
Related Articles
ALL NEW TRIM for your Mopar A-Body
Jan 3, 2025 by Jason
Tech Articles
Making an A-body Whole Again with Hard to Find Metal from AMD
Aug 29, 2024 by Jason
Tech Articles