


Face Lift: Converting a 1974 Camaro to a 1970–73 Rally Sport Nose
Face Lift: Converting a 1974 Camaro to a 1970–73 Rally Sport Nose
A Second-Gen Camaro Upgrade with AMD Sheet Metal
Tech Article by Kevin Tetz – Paintucation
Among Camaro enthusiasts, the 1970–1973 second-generation Camaro is widely considered one of the best-looking designs Chevrolet ever produced. While the first-generation Camaro often gets most of the spotlight, the complete redesign introduced in 1970 brought a number of mechanical and structural improvements that carried through the entire second-gen production run to 1981.
These cars featured improvements like a front steer steering system, wider track width, radial-tuned suspension geometry, improved insulation, and expanded option packages. But visually, one feature still stands out as a highlight of early second-gen styling: the Rally Sport front end.
The Rally Sport (RS) package was largely cosmetic, but its Endura urethane nose, split grille, and integrated bumperettes created one of the most recognizable front ends of the muscle car era. Even today, it remains a popular upgrade for second-gen Camaro builders.
In this tech article, we’ll walk through converting a 1974 Camaro front end into the earlier 1970–1973 Rally Sport configuration using reproduction components from Auto Metal Direct (AMD).
Why a 1974 Camaro Is a Perfect Candidate
The 1974 model year was the first year for the federally mandated large bumper system, but it still retained the small rear window introduced in 1971. That makes it an excellent starting point for builders who want early second-gen styling without completely reengineering the body.
Converting the rear of a later Camaro to early styling requires significant metal work. Fortunately, the front conversion is largely bolt-on, particularly for 1974–1977 cars where the fenders still share the earlier body lines.
This means the transformation can be completed with basic tools, a good parts list, and careful alignment.
Starting With a Solid Foundation
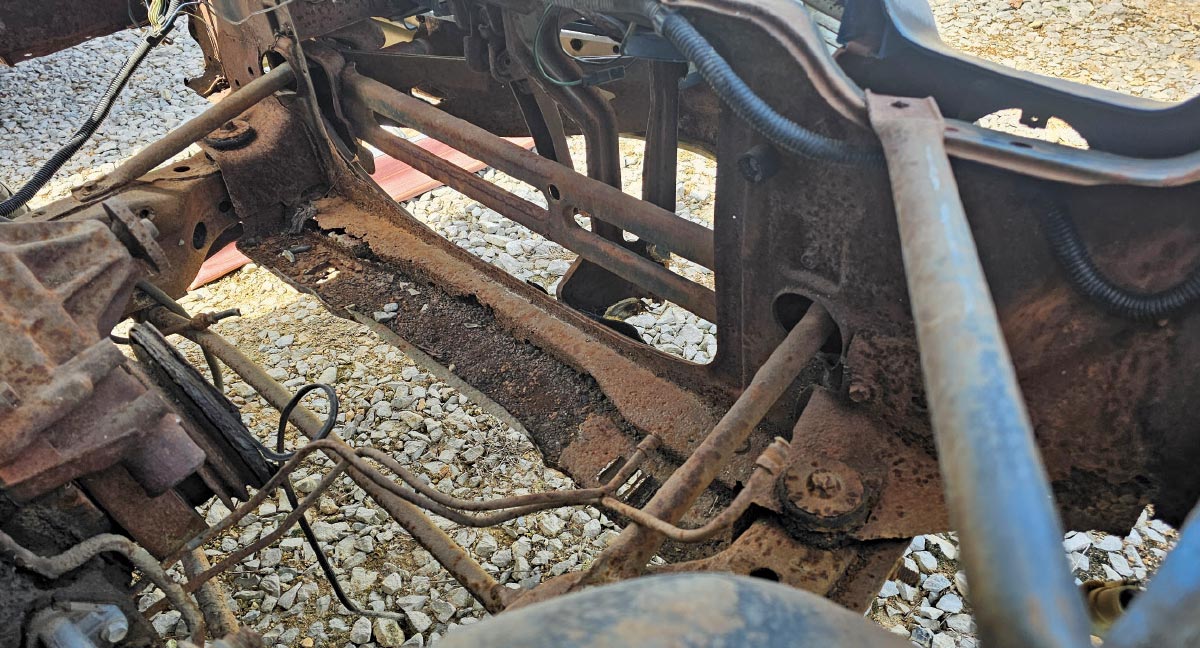
The project vehicle came from Derek Bieri of Vice Grip Garage, and while it wasn’t originally intended to be a full restoration, the car’s solid spring pockets and frame rails made it worth saving.
Rather than creating an exact clone of a 1970 Rally Sport, the goal was to capture the iconic styling using modern reproduction components.
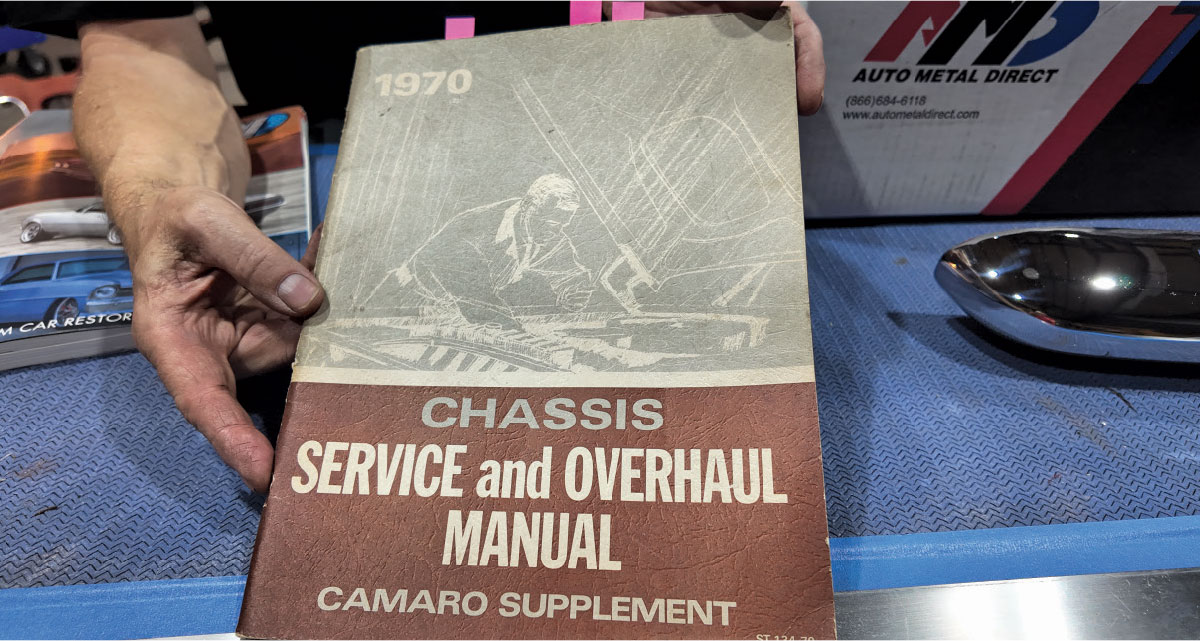
The AMD catalog and a GM service manual served as essential references throughout the project.
Step 1: Replacing the Radiator Support
The factory radiator support on this car was rusted and incompatible with the earlier RS front end without modification.
The solution was simple: install a new AMD radiator support, along with fresh support bushings and hardware.
This creates a stable mounting structure for:
-
Fenders
-
Header panel
-
Valance panel
-
Grille supports
-
Bumper brackets
Starting with a straight and properly mounted support makes the rest of the installation significantly easier.
Step 2: Hanging the Fenders
The next step is installing the fenders and aligning them to the doors before moving forward with the rest of the front assembly.
Taking the time to properly align panel gaps here ensures the rest of the front sheet metal will fall into place correctly.
Some key tips:
-
Reuse existing shim stacks when possible
-
Confirm door-to-fender gaps before tightening
-
Keep bolts slightly loose until final alignment
On this project the outer fenders were reusable, but the inner fenders were too rusted and needed replacement or modification.
Step 3: Installing the Header and Valance Panels
The Rally Sport front assembly uses a two-piece header and lower valance system that mounts between the fenders and radiator support.
The upper header panel is installed first, followed by the lower valance.
AMD’s stamped panels aligned well with the existing body structure, requiring only minor adjustment to achieve flush panel transitions.
A few light taps with a body spoon helped fine-tune alignment before tightening the mounting bolts.
Step 4: Grille Support and Bumper Structure
Once the header and valance are installed, the center grille support ties the entire front assembly together.
This component connects:
-
Radiator support
-
Upper header
-
Lower valance
-
Grille mounting points
The inner bumper brackets are installed next, followed by the filler panels and bumperettes.
This stage can feel a bit like assembling a puzzle, so it’s best to leave all mounting bolts finger-tight until the nose assembly is complete.
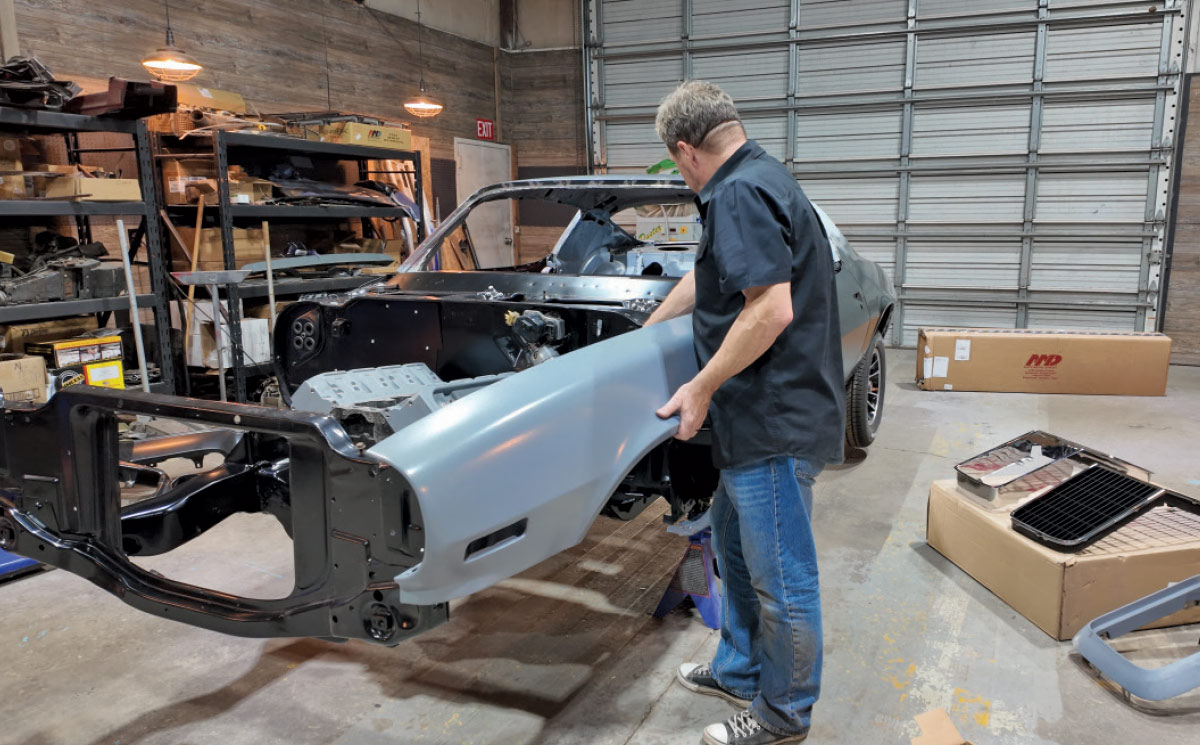
Step 5: Installing the Endura Nose
The centerpiece of the Rally Sport front end is the Endura bumper nose.
Originally introduced by GM in 1968 on the Pontiac GTO, the Endura design uses urethane molded over a steel internal framework.
Original pieces are extremely difficult to find in usable condition and often require extensive repair. AMD’s reproduction Endura nose provides a far easier solution.
Once positioned on the mounting brackets, the nose has a generous amount of adjustment to help dial in final panel alignment.
Step 6: Headlight System Differences
One unexpected discovery during the build was that 1974 headlight buckets differ from the 1970–73 versions.
No amount of adjustment will make them work correctly with the RS nose.
The fix is simple:
Install the correct 1970–1973 headlight components, including:
-
Headlight buckets
-
Retainers
-
Adjusters
-
Trim rings
Once the correct parts arrived, installation took only minutes.
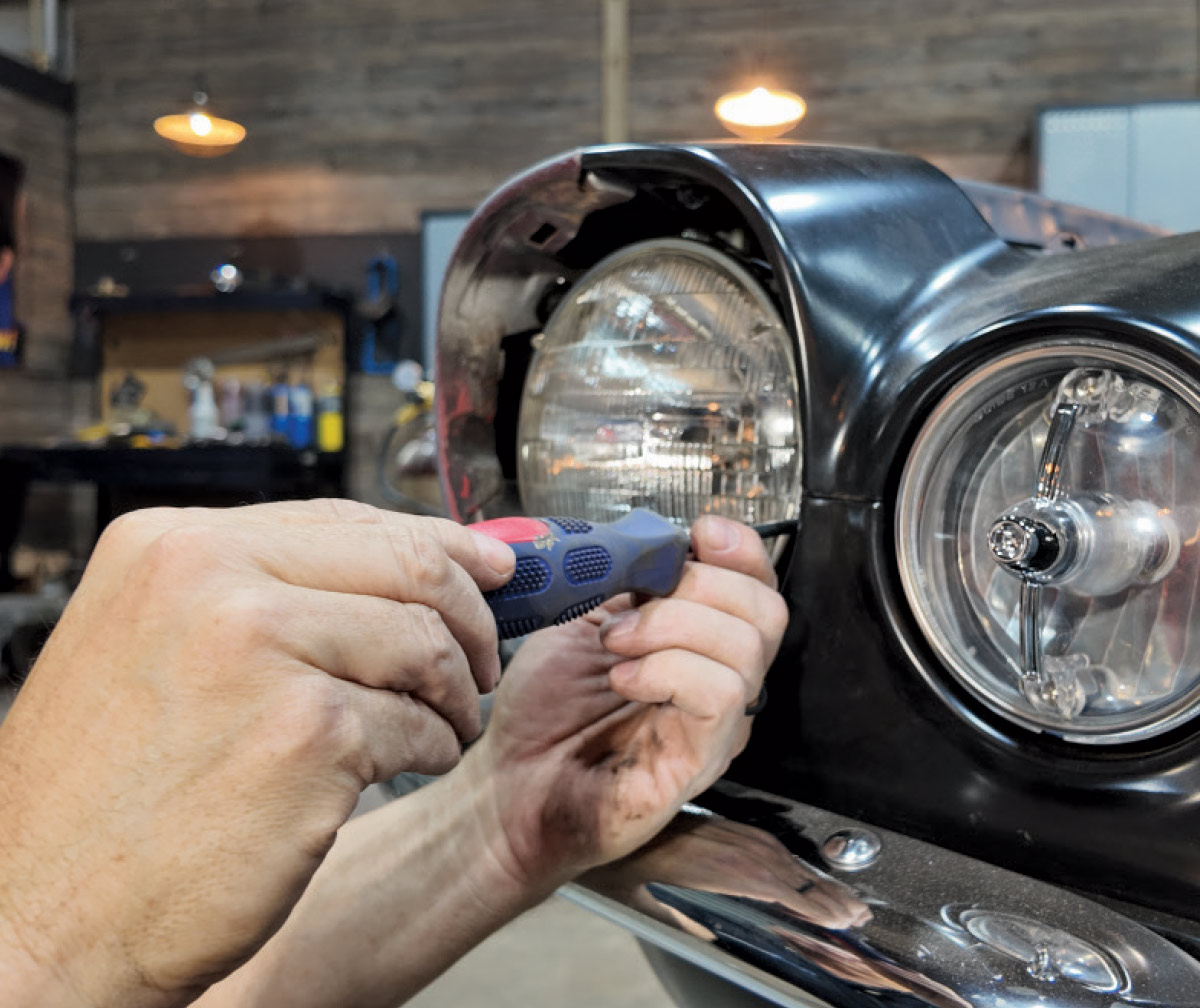
Step 7: Final Grille and Lighting Assembly
With the nose mounted, the remaining components can be installed:
-
Chrome grille surround
-
Center grille divider
-
Inner marker lights
-
Headlight mounting hardware
The marker lights are a signature part of the Rally Sport front end, and new plastic mounting hardware is highly recommended since older components tend to break during installation.
A Bolt-On Transformation
Despite the intimidating appearance of the Rally Sport front end, the conversion process is surprisingly straightforward.
With proper parts and preparation, the front assembly installation can be completed in roughly two to three hours.
The finished result captures the unmistakable look of the early second-gen Camaro while retaining the solid platform of the later car.
Parts Commonly Used for This Conversion
Typical components required for the 1970–73 Rally Sport nose conversion include:
-
Radiator support
-
Radiator support bushings and hardware
-
Fender assemblies
-
Inner fenders (1970–73 style)
-
Header panel
-
Lower valance panel
-
Grille support brackets
-
Inner and outer bumper brackets
-
Endura nose assembly
-
Chrome grille surround and divider
-
Headlight buckets and adjusters
-
Parking lights and lenses
Many of these components are available as direct replacement reproduction parts from Auto Metal Direct.
Final Thoughts
The second-generation Camaro remains one of the most versatile classic platforms for builders and restorers.
By combining the later chassis improvements with the iconic styling of the early Rally Sport nose, enthusiasts can achieve the best of both worlds.
With quality reproduction components and a careful installation approach, this upgrade is well within reach for the average garage builder—and the results speak for themselves.
Learn More
For additional Camaro restoration parts and reproduction sheet metal, visit:
Auto Metal Direct
autometaldirect.com
(833) 404-4777
For paint and restoration training resources:
Paintucation by Kevin Tetz
paintucationu.com
Step-By-Step Gallery: 1974 Camaro Rally Sport Nose Conversion
Follow along as this 1974 Camaro is transformed with the iconic 1970–1973 Rally Sport front end using AMD reproduction components.
Step 1: The goal is simple—capture the iconic 1970–1973 Rally Sport look on a later second-gen Camaro using AMD sheet metal and components.
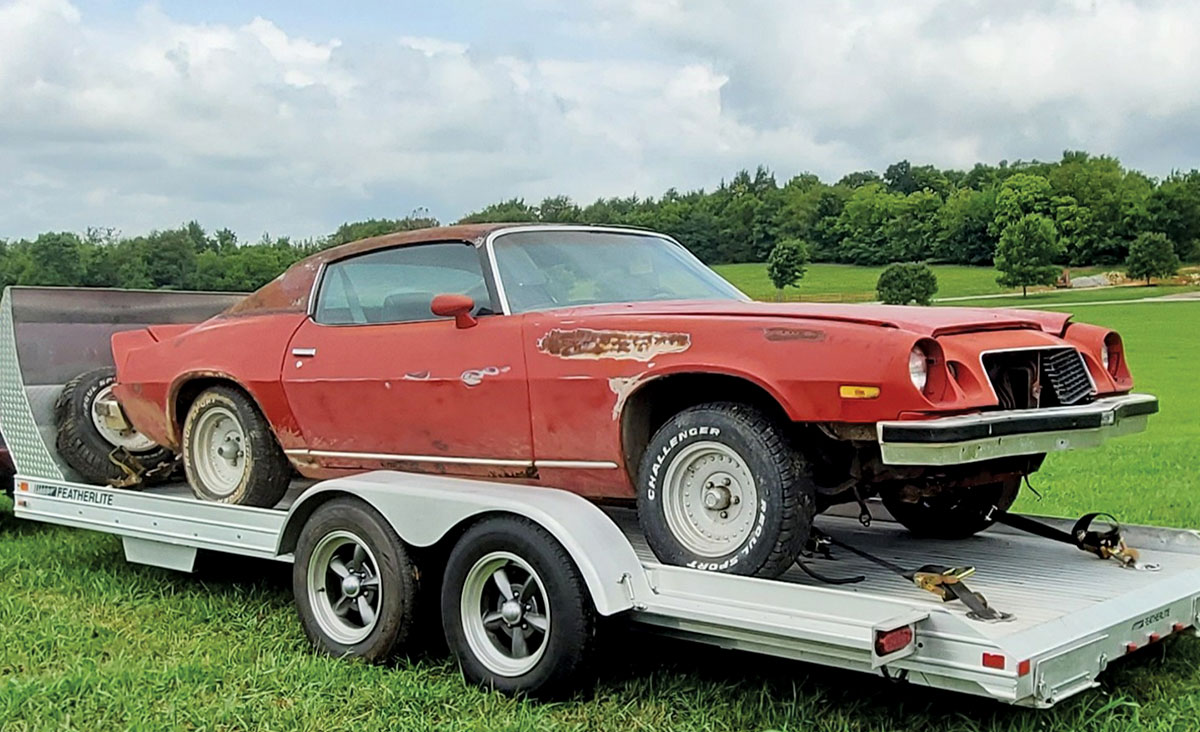
Step 2: The project starts with a rough but solid 1974 Camaro, proving that even neglected cars can become ideal candidates for this RS conversion.
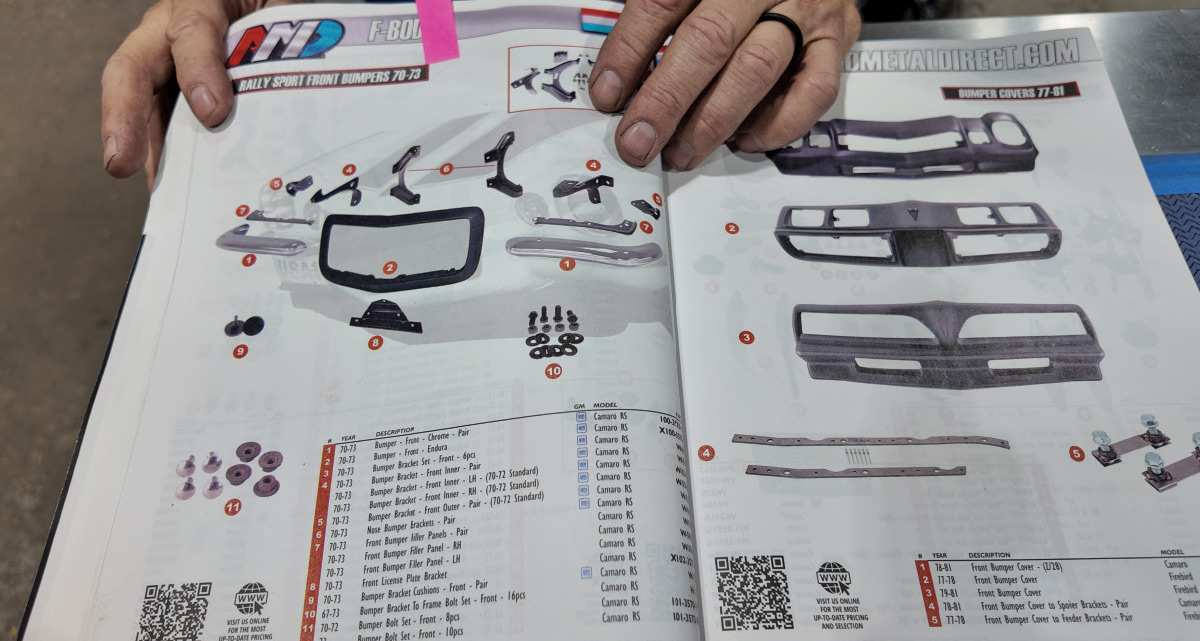
Step 3: The AMD catalog becomes a key reference for identifying the correct sheet metal and front-end components needed for the swap.
Step 4: A factory GM service manual helps confirm assembly order and mounting locations during the build.
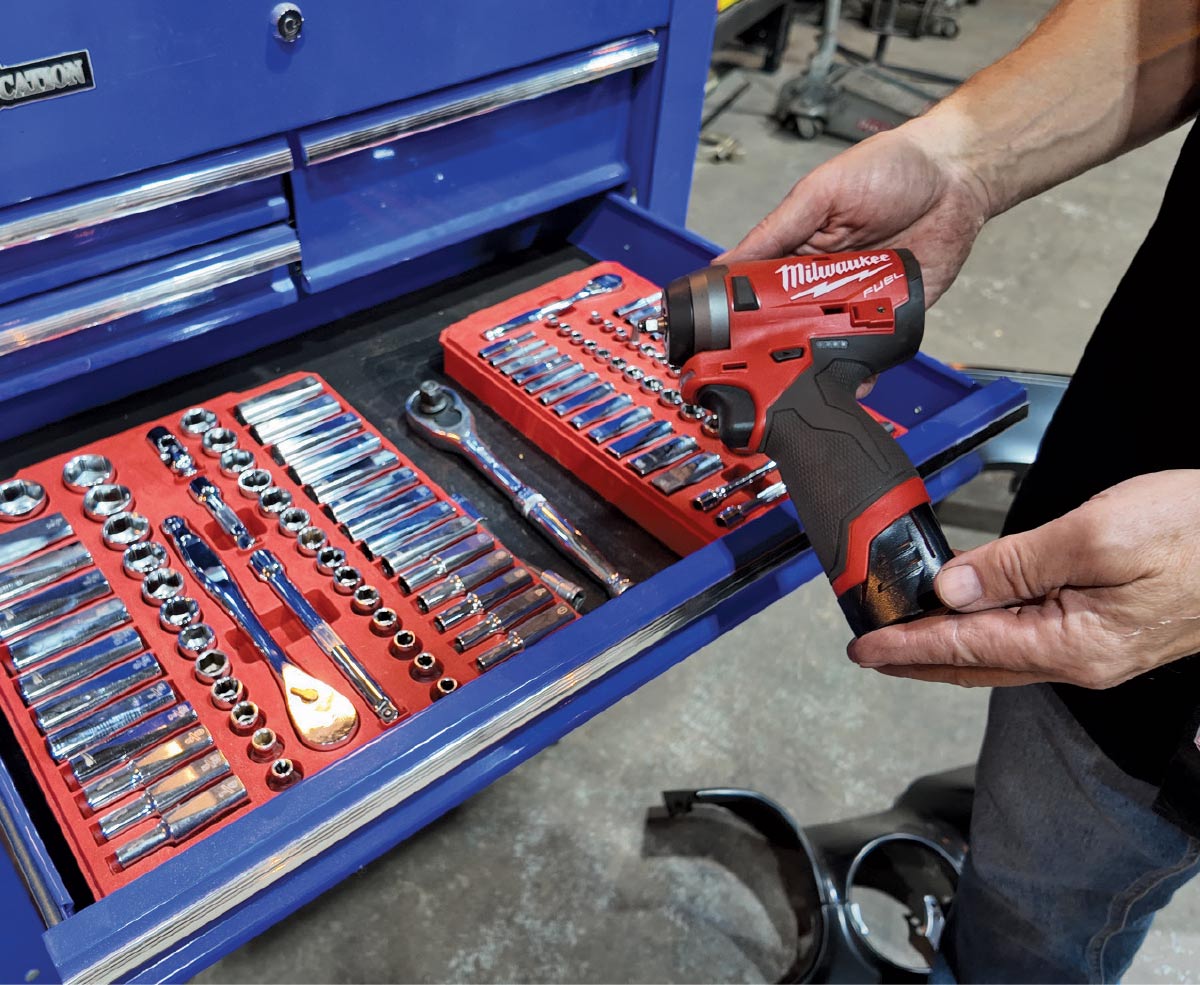
Step 5: Basic hand tools are all that’s required for most of the installation, making this a very approachable DIY project.
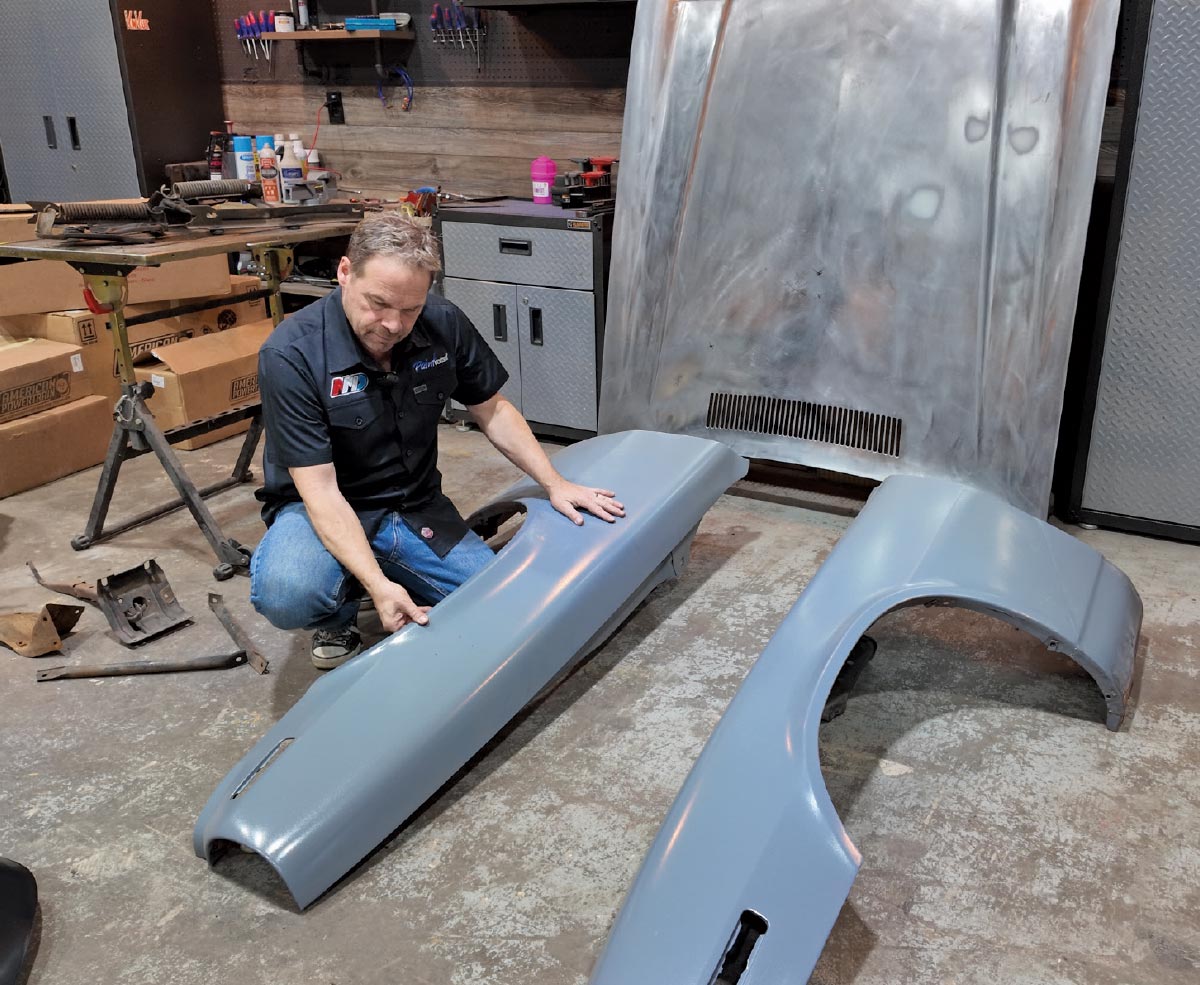
Step 6: The outer fenders can often be reused, but rusty inner fenders may need replacement with 1970–73 style panels.
Step 7: The federally mandated bumper structure used on later second-gen cars is heavier and more complex than the earlier design.
Step 8: New radiator support bushings are installed to provide a stable mounting point for the front sheet metal.
Step 9: Fenders are installed first and aligned to the doors to establish correct panel gaps.
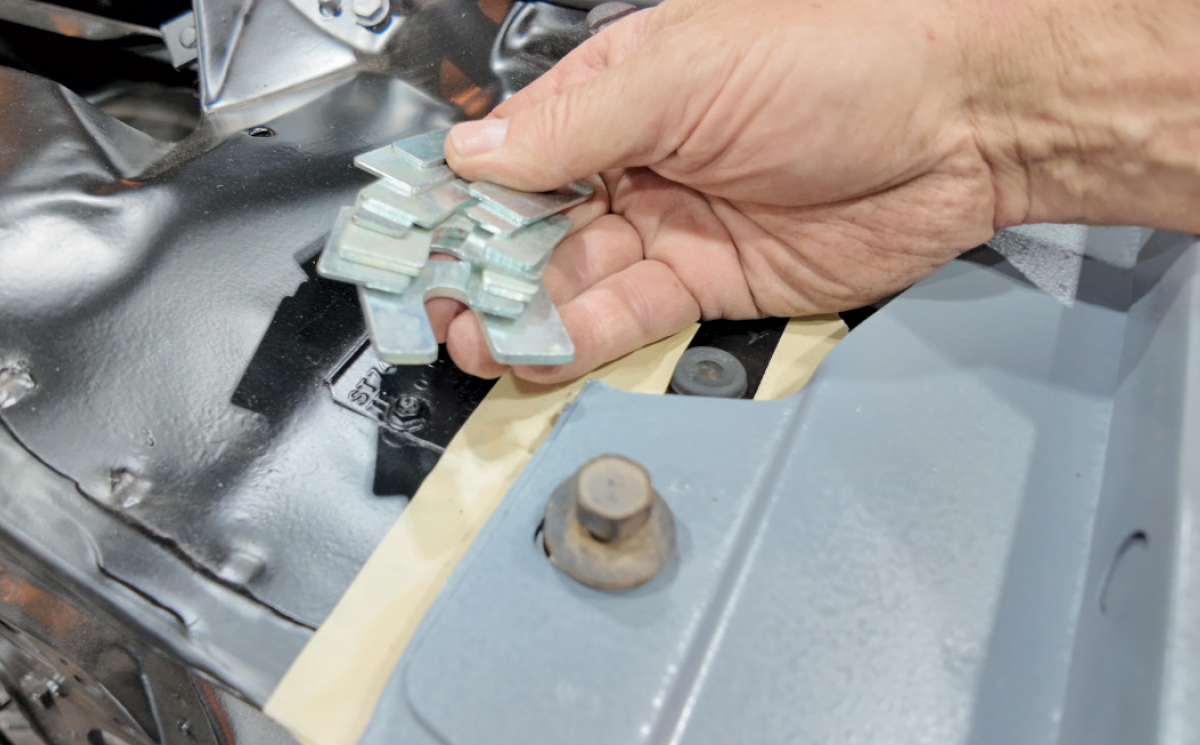
Step 10: Recording shim stacks during disassembly helps maintain proper panel alignment during reassembly.
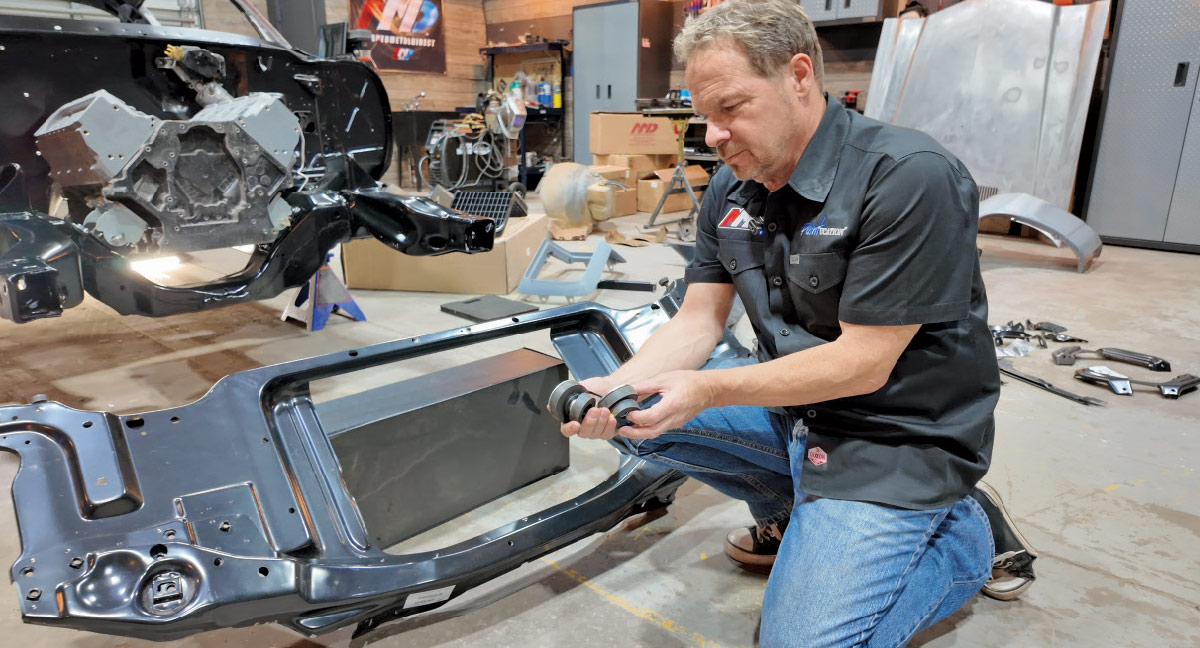
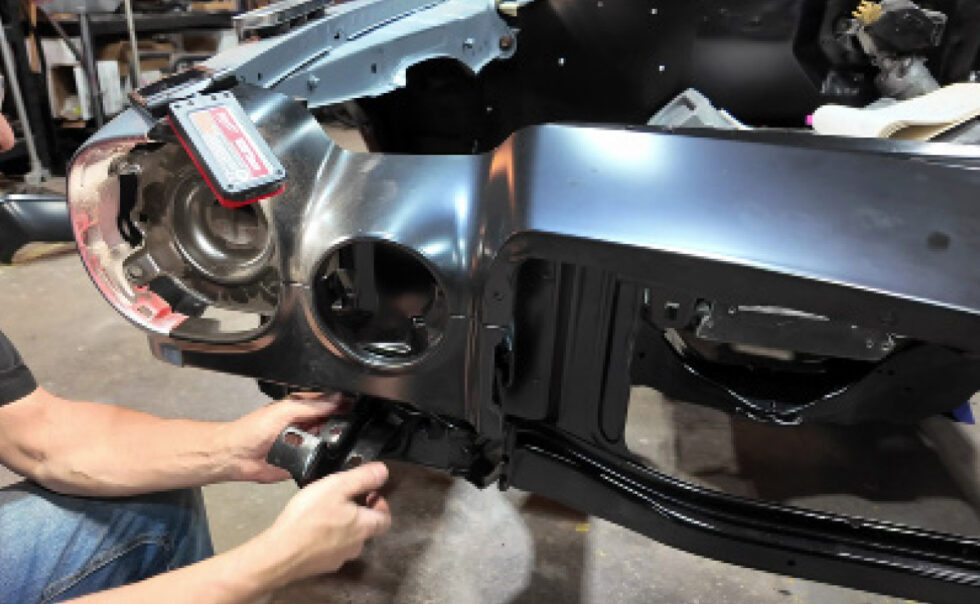
Step 11: Headlight supports attach to the radiator support and fenders to begin building the Rally Sport lighting structure.
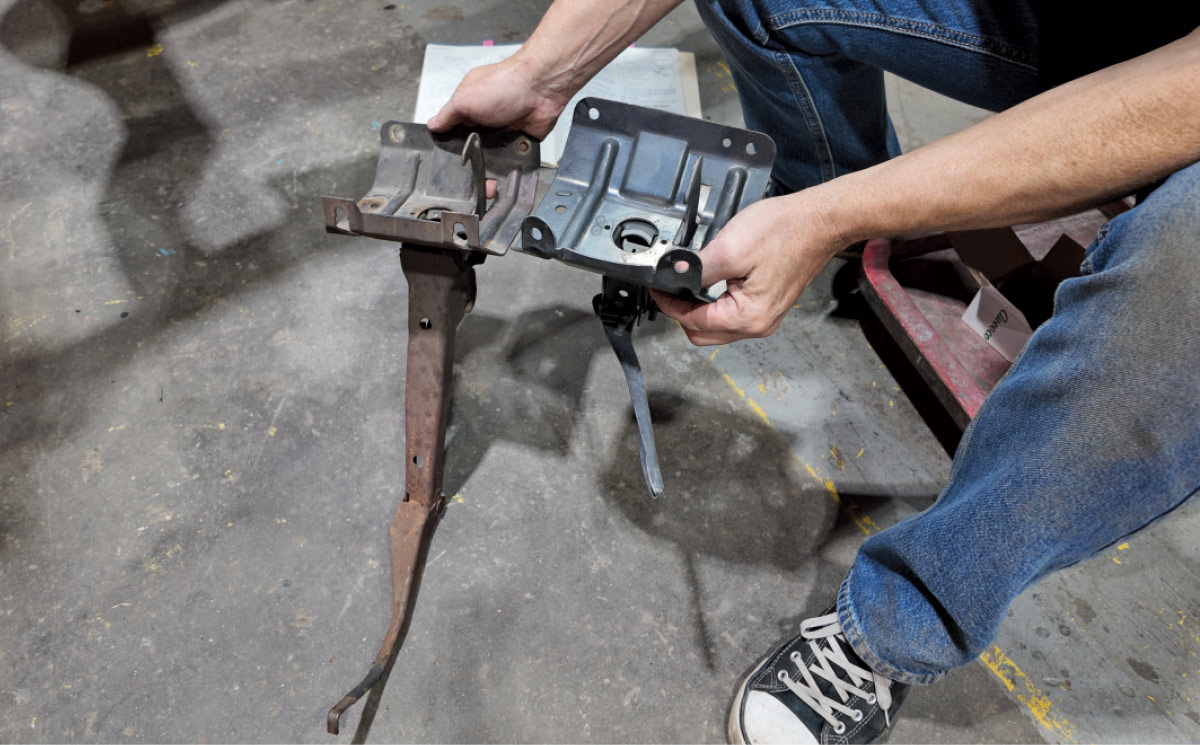
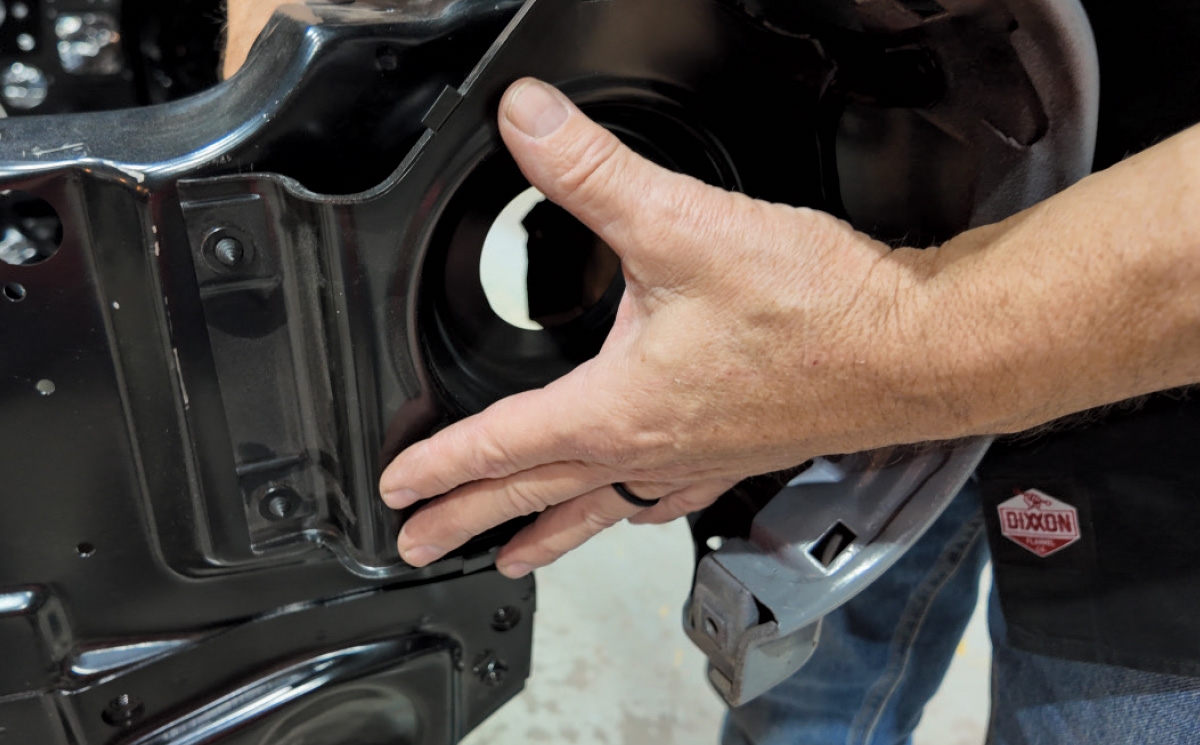
Step 12: The hood latch from the later model does not directly fit the earlier header panel and requires modification.
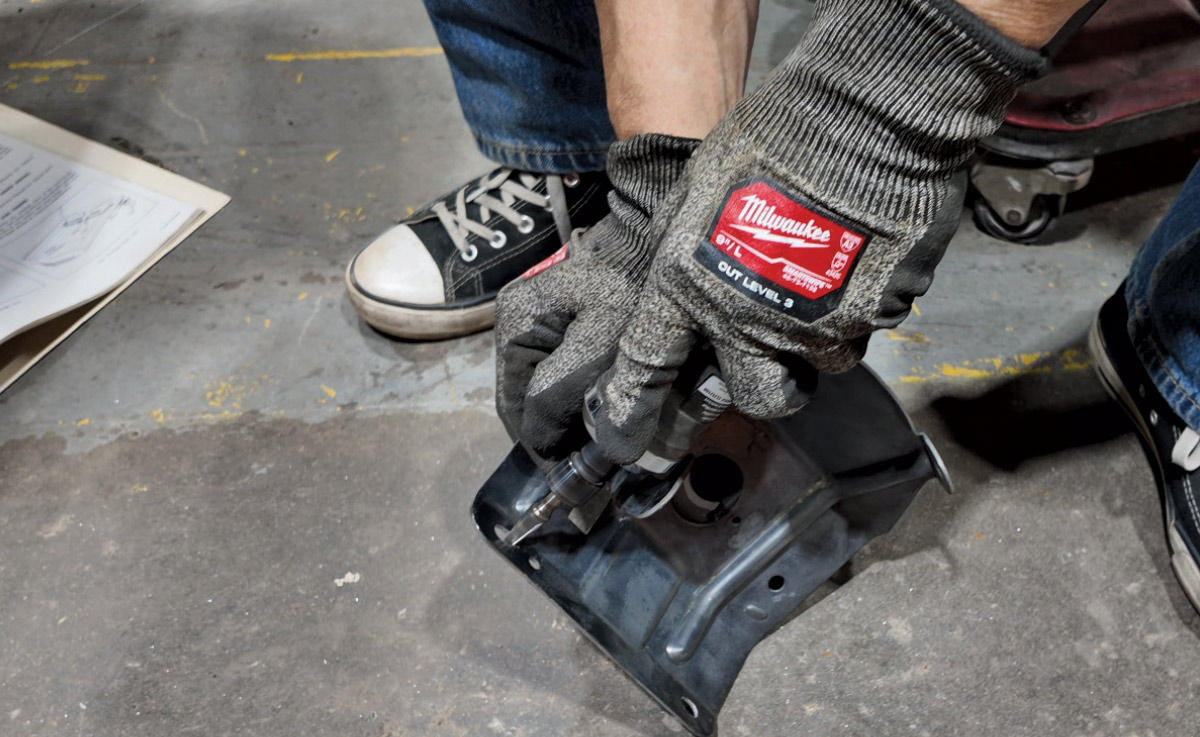
Step 13: A die grinder is used to slightly enlarge the mounting holes to allow the hood latch to align with the RS header panel.
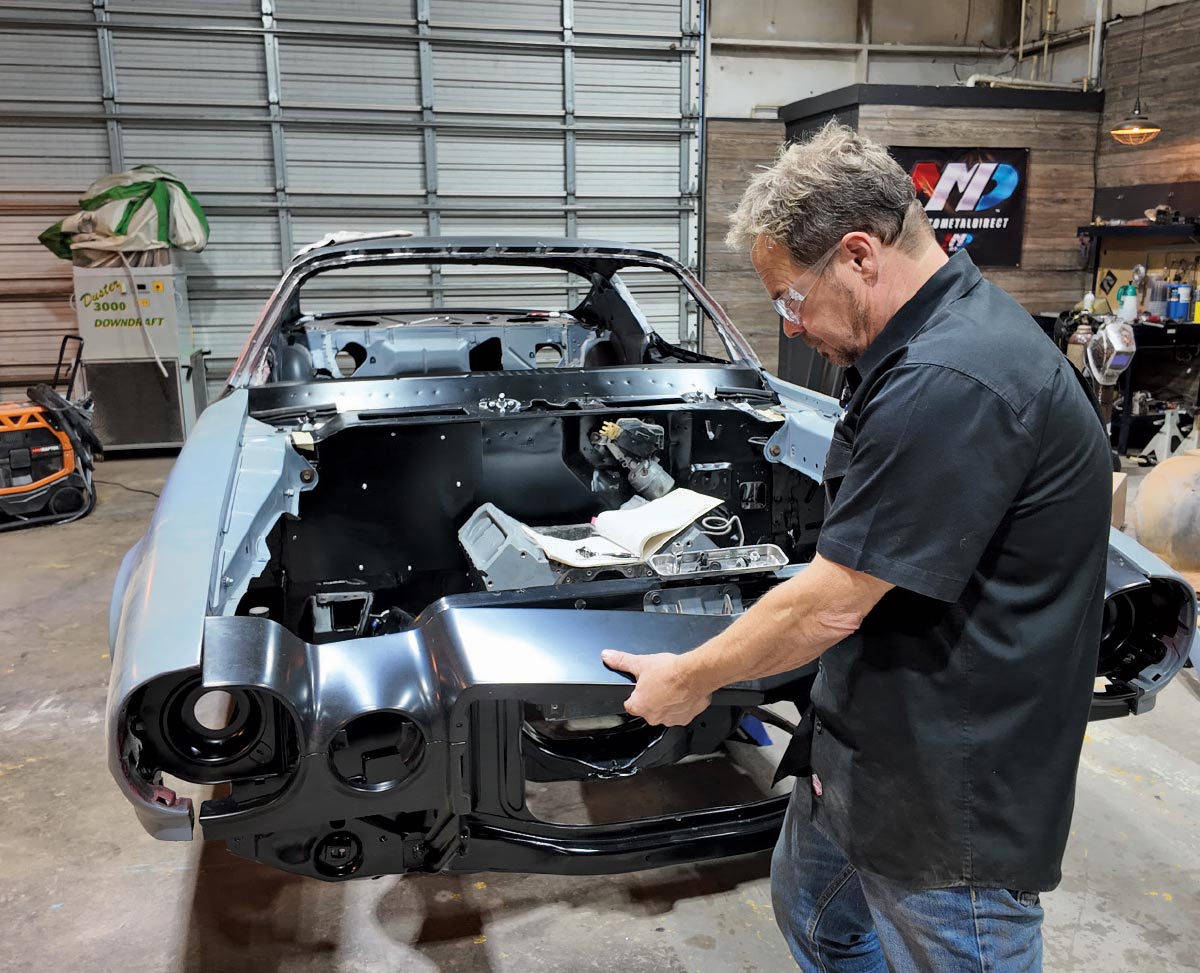
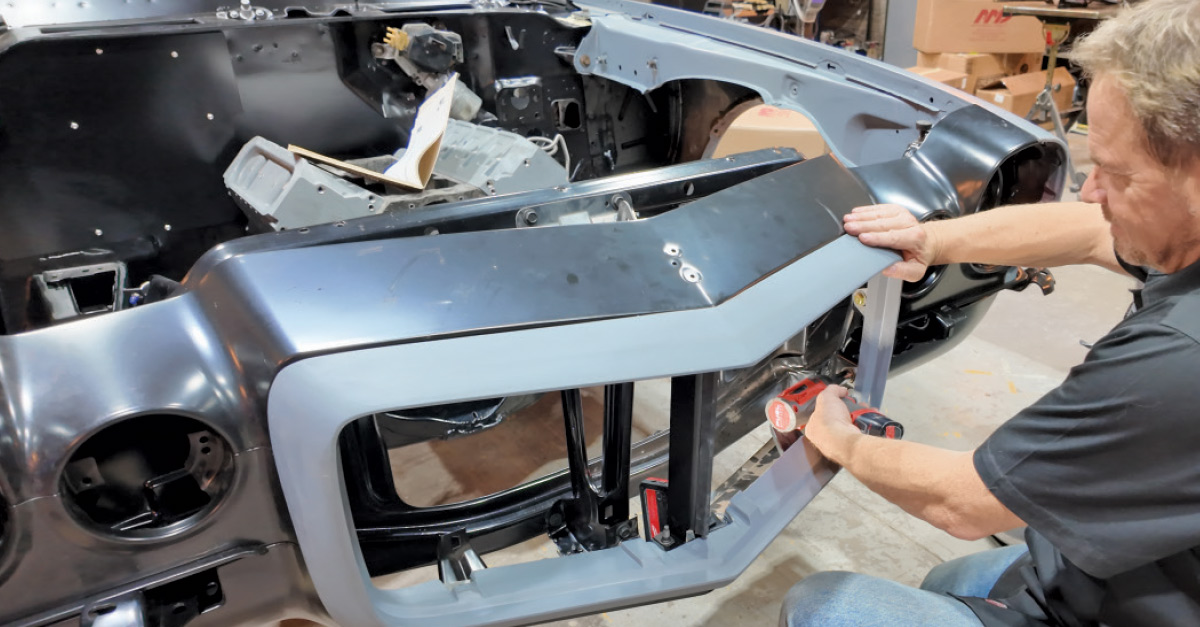
Step 14: The upper header panel is installed between the fenders and begins shaping the early second-gen front end.
Step 15: The lower valance panel mounts beneath the header and ties into the fenders.
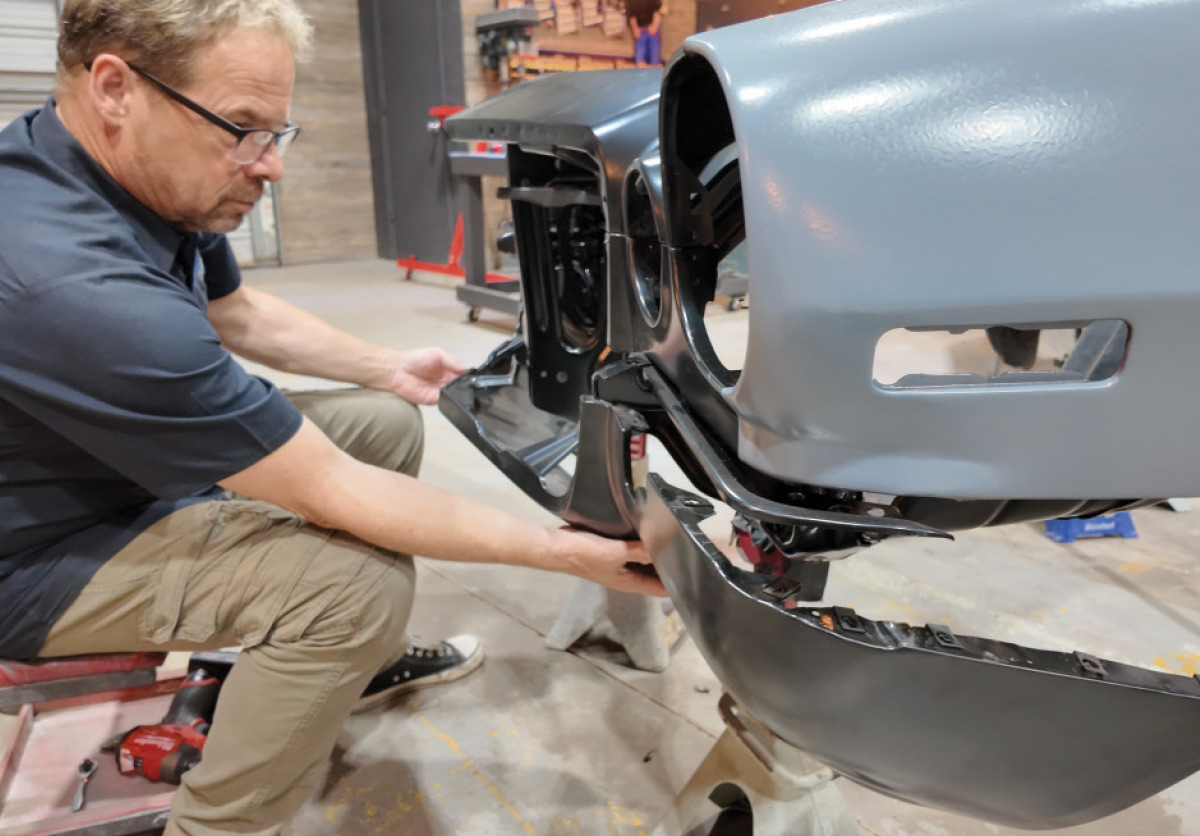
Step 16: The center grille support ties together the radiator support, header panel, and valance assembly.
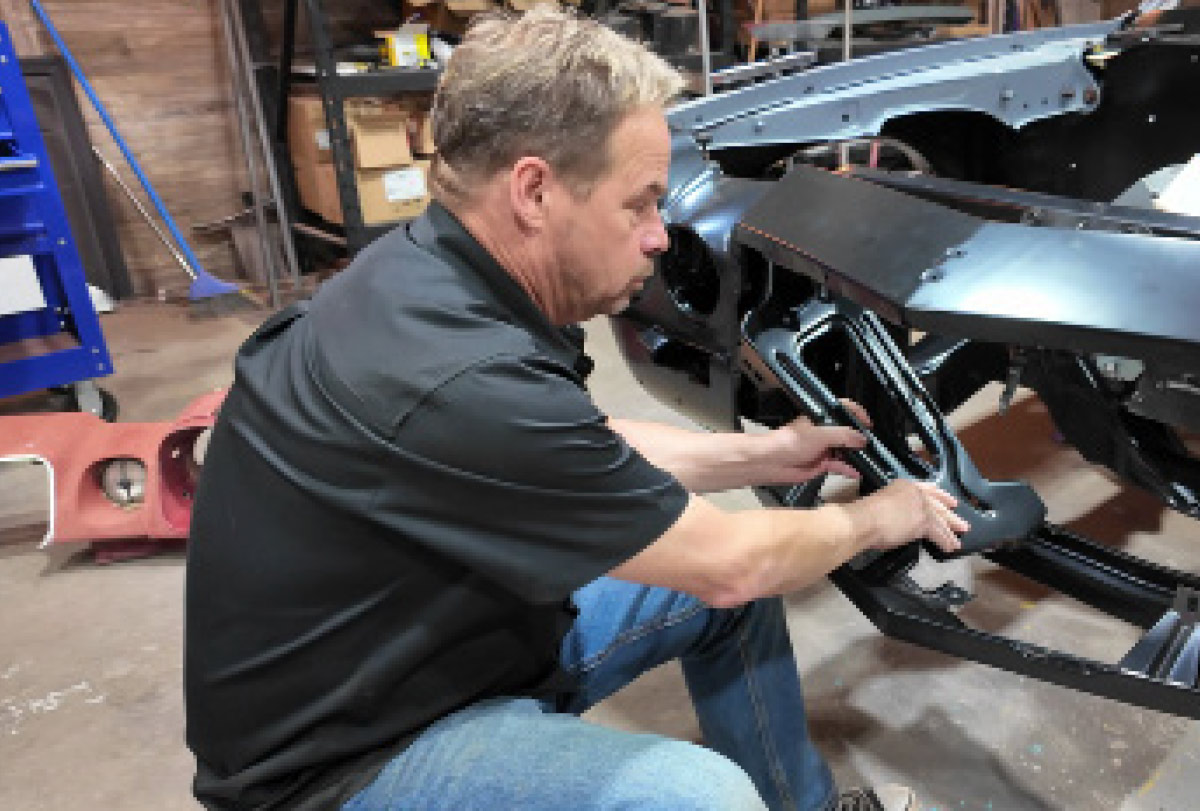
Step 17: Inner bumper brackets are installed next but left loose for final alignment.
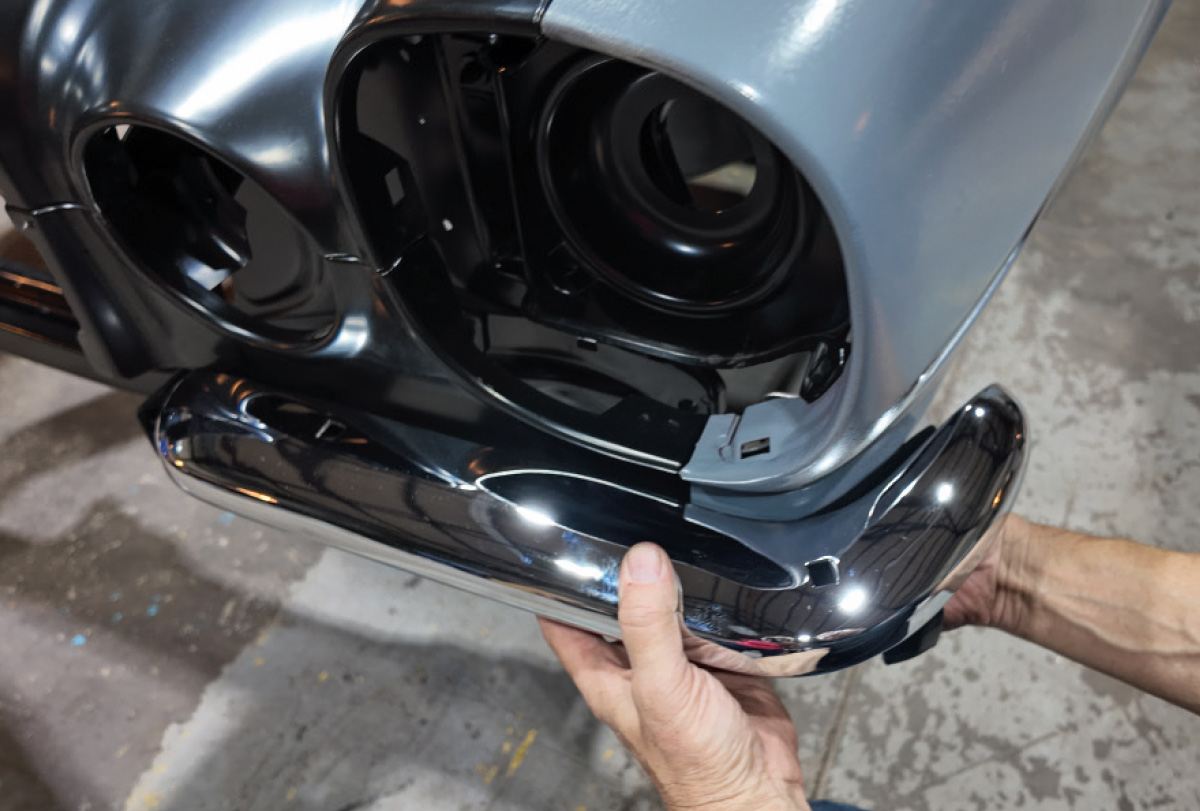
Step 18: Chrome bumperettes are installed before fitting the Endura nose.
Step 19: The Endura nose mounts to the wishbone brackets and features generous adjustment for alignment.
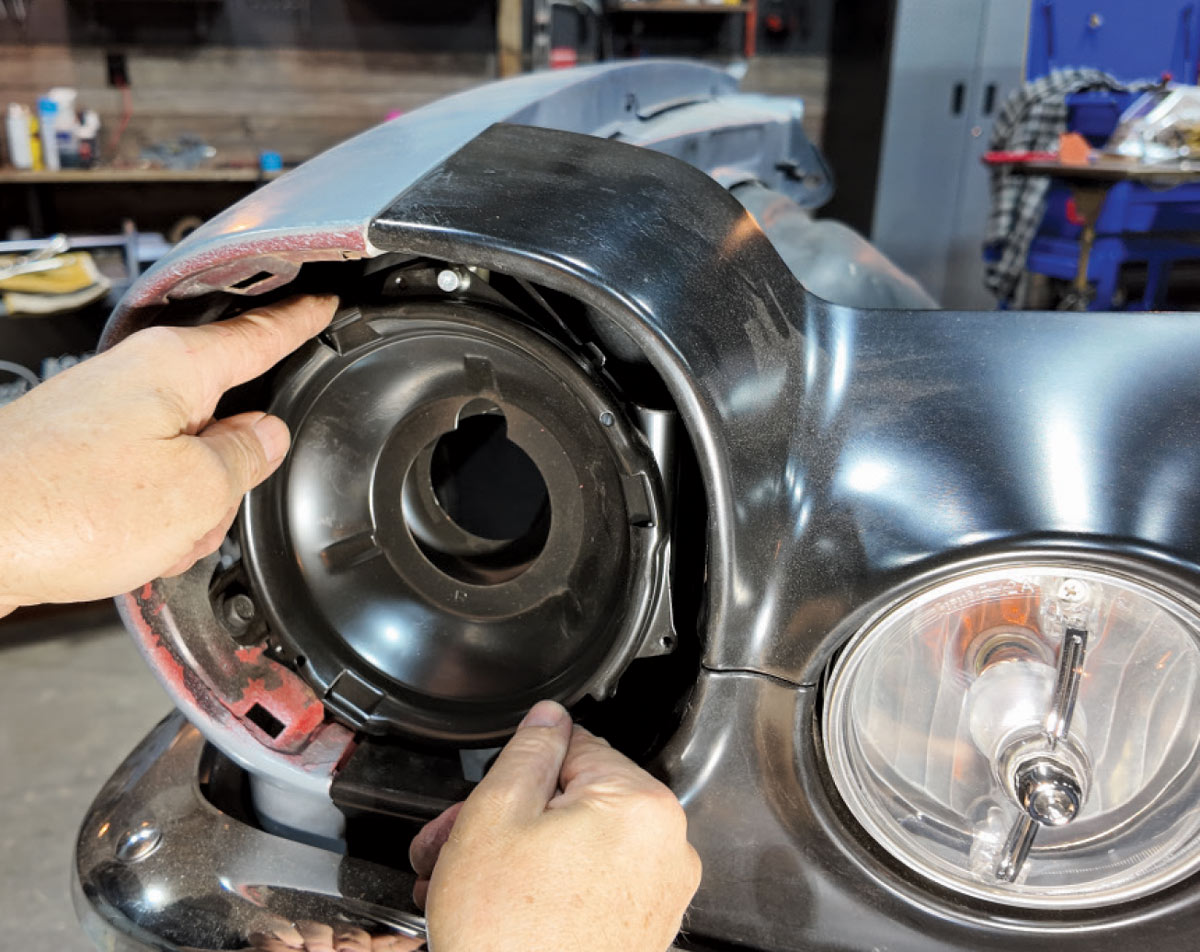
Step 20: Correct 1970–73 headlight buckets, retainers, and adjusters are required for this conversion.
Step 21: With the adjusters and springs installed, the headlight bucket assembly drops into place.
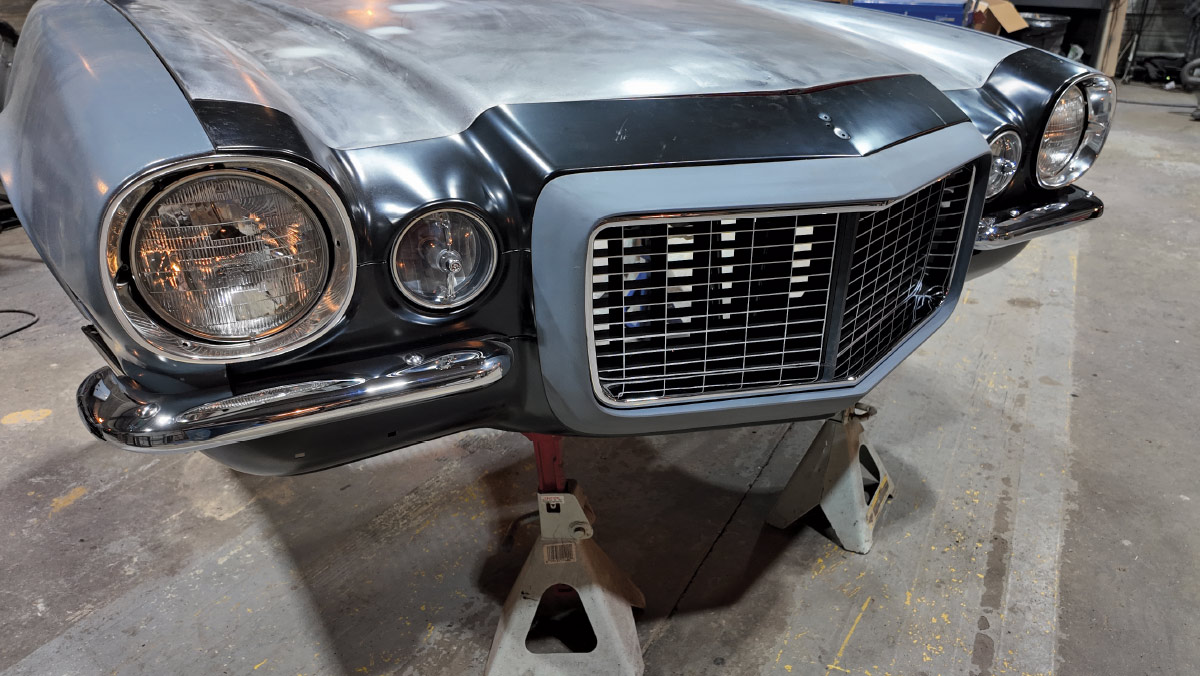
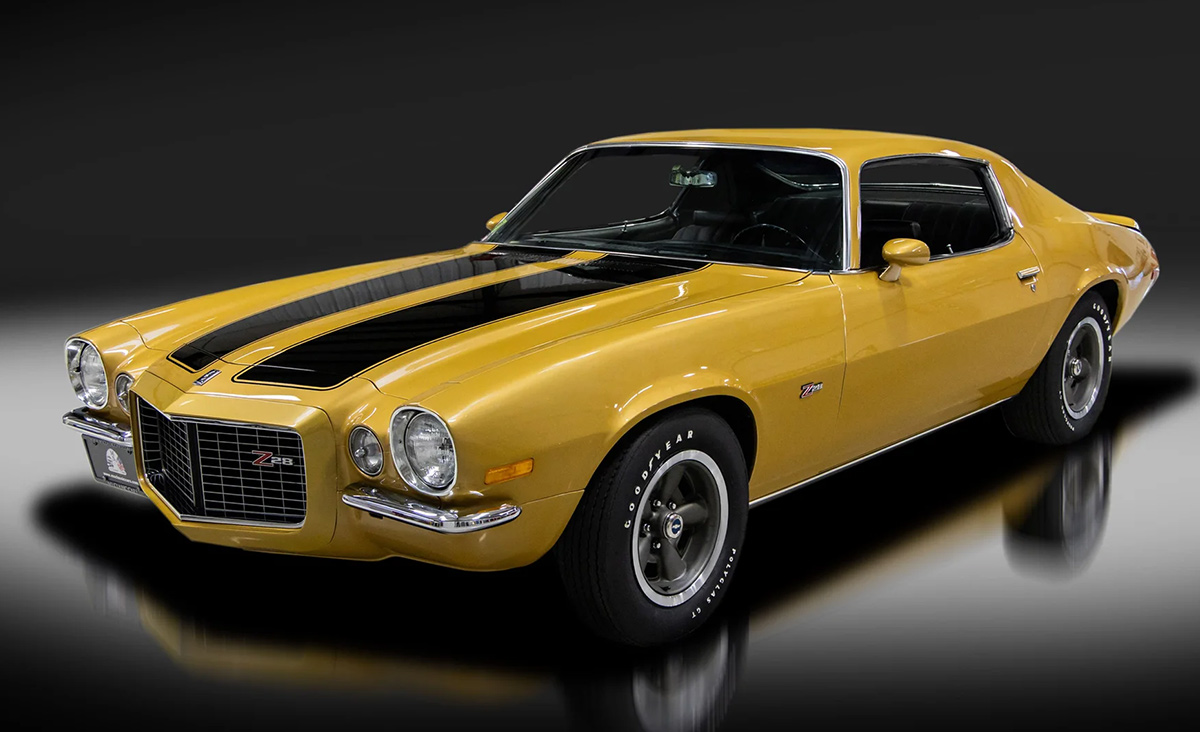
Step 22: With the grille, lights, and trim installed, the unmistakable 1970–1973 Rally Sport look is complete.
Related Articles
ALL NEW TRIM for your Mopar A-Body
Jan 3, 2025 by Jason
Tech Articles
Making an A-body Whole Again with Hard to Find Metal from AMD
Aug 29, 2024 by Jason
Tech Articles