


1956 Ford F-100 Restoration with AMD Panels: Step-by-Step Family Build with Kevin Tetz
1956 Ford F-100 Restoration with AMD Panels: Step-by-Step Family Build
OE-Style AMD Panels EDP-Coated Steel Photo-Guided Steps Video Walkthrough
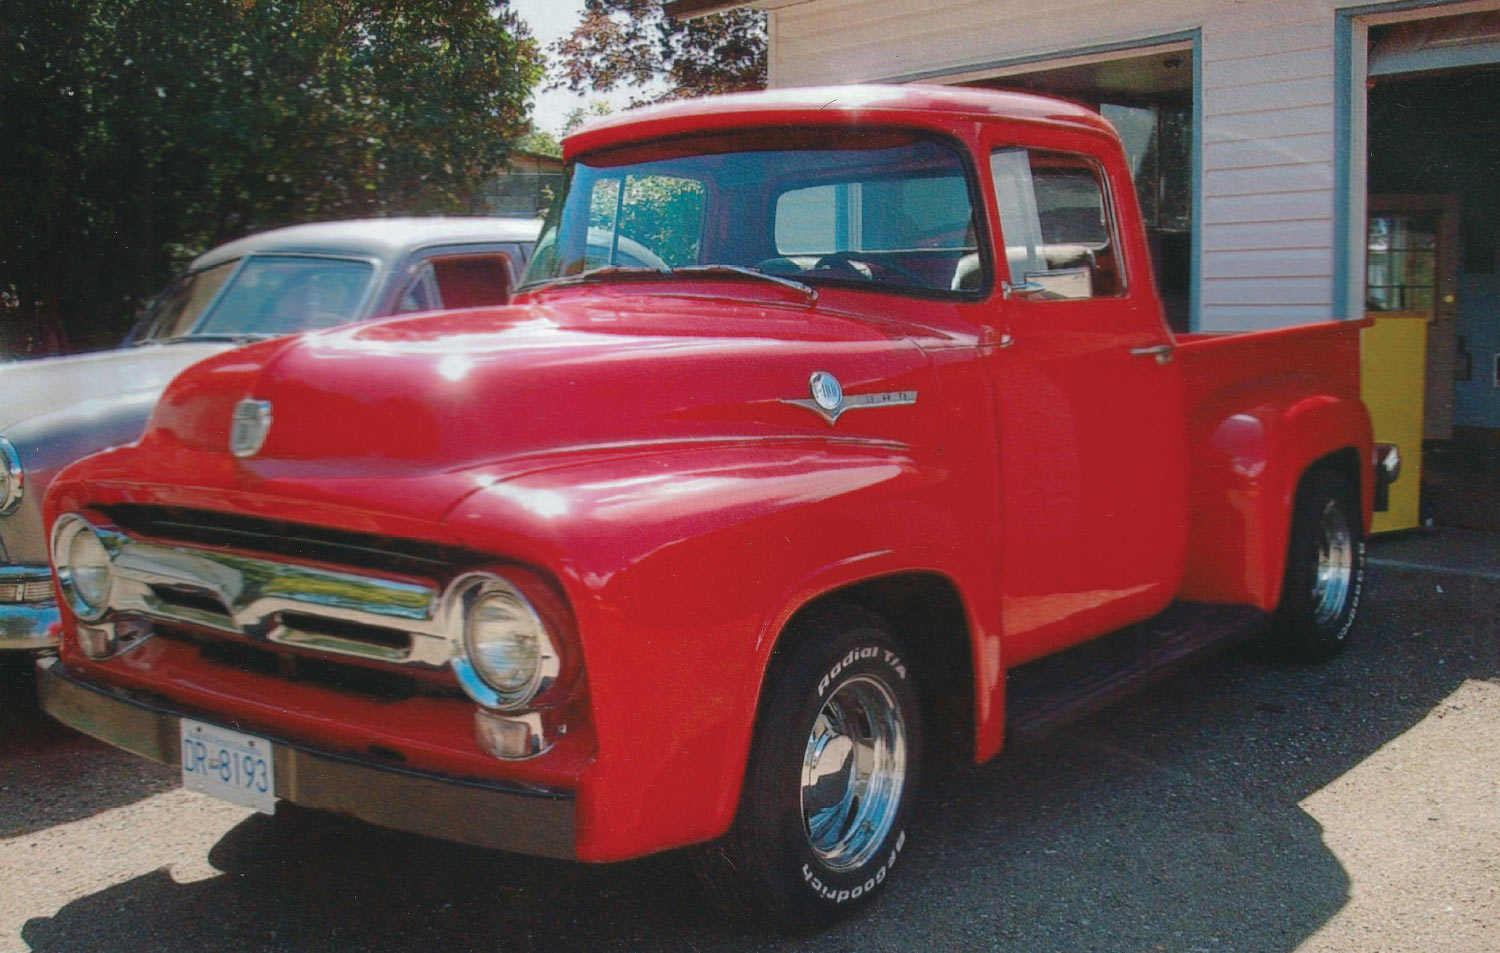
Classic trucks aren’t just metal and bolts—they’re family history on four wheels. When a 1956 Ford F-100 rolled into the shop for a six-day refresh, the plan was simple: lean on Auto Metal Direct OE-style replacements to eliminate guesswork, save time, and bring the truck back to life with factory-clean lines.
![]()

Full Walkthrough Video
Step-by-Step: 1956 F-100 Body Revival
- Thirty years after its last restoration, the F-100’s paint and prior repairs showed age. Time to refresh with precision AMD panels.
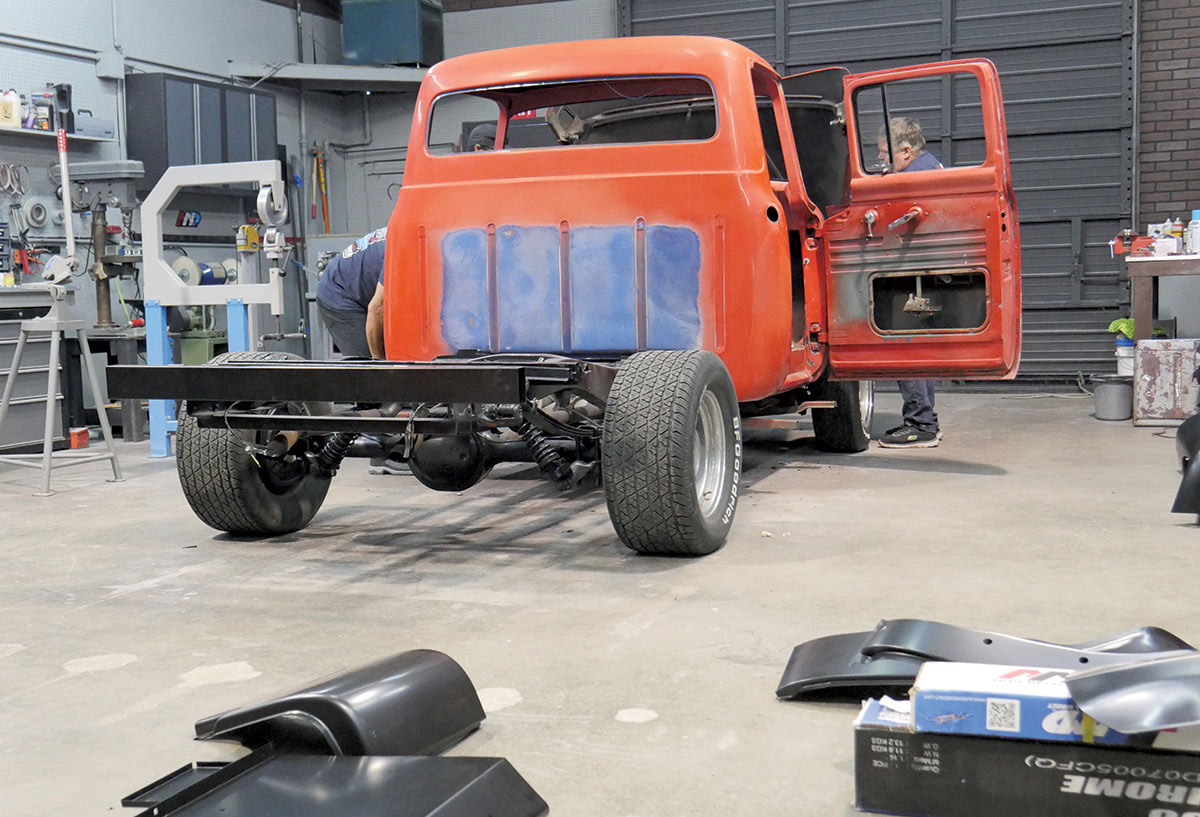
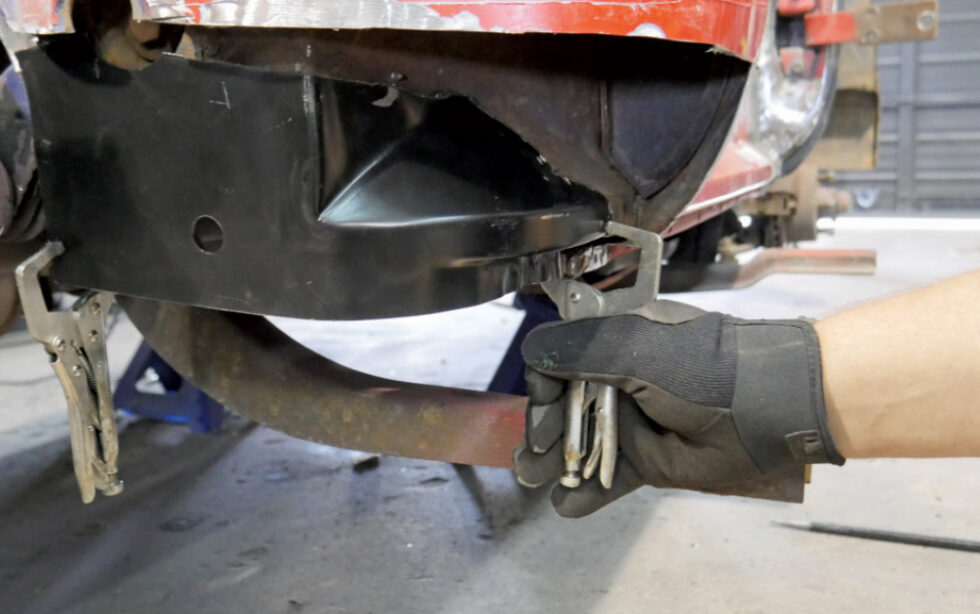
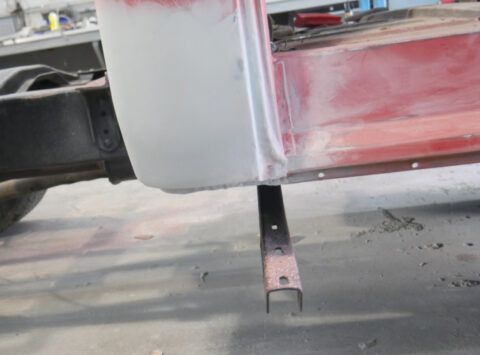
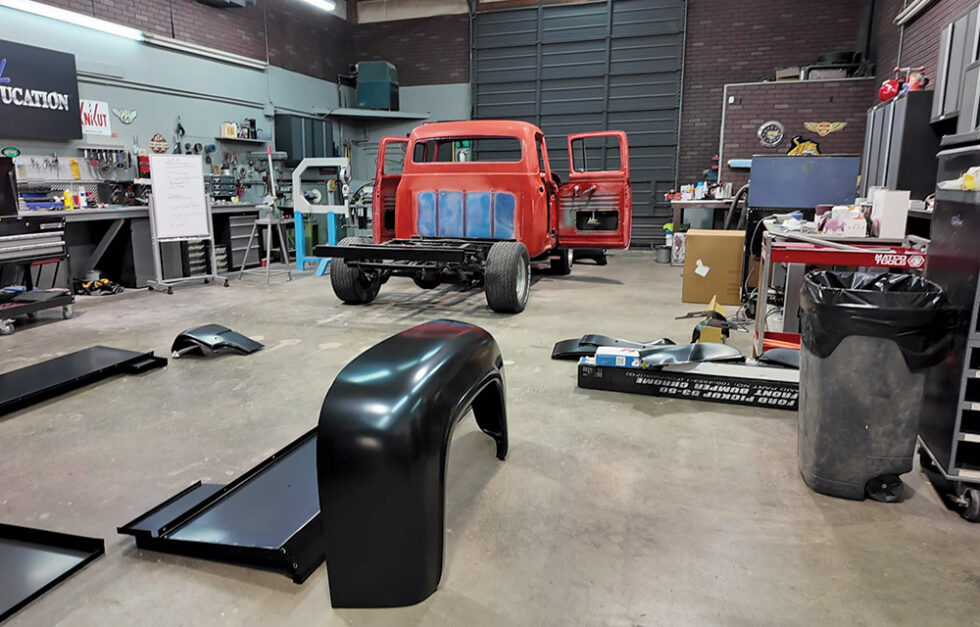
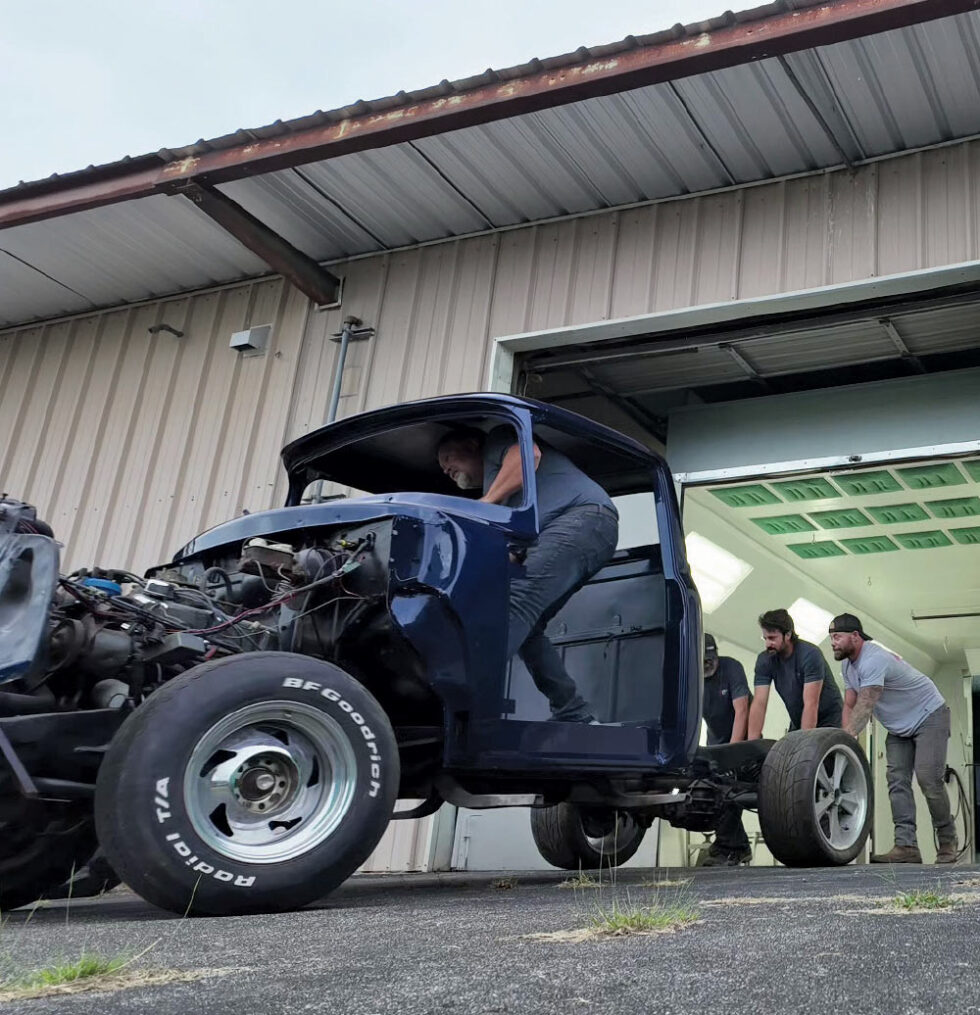
- Bed and front fenders were removed to inspect the cab and prepare for new AMD body panels.

- After a 2,400-mile haul, the team set a tight plan—organization wins projects like this.
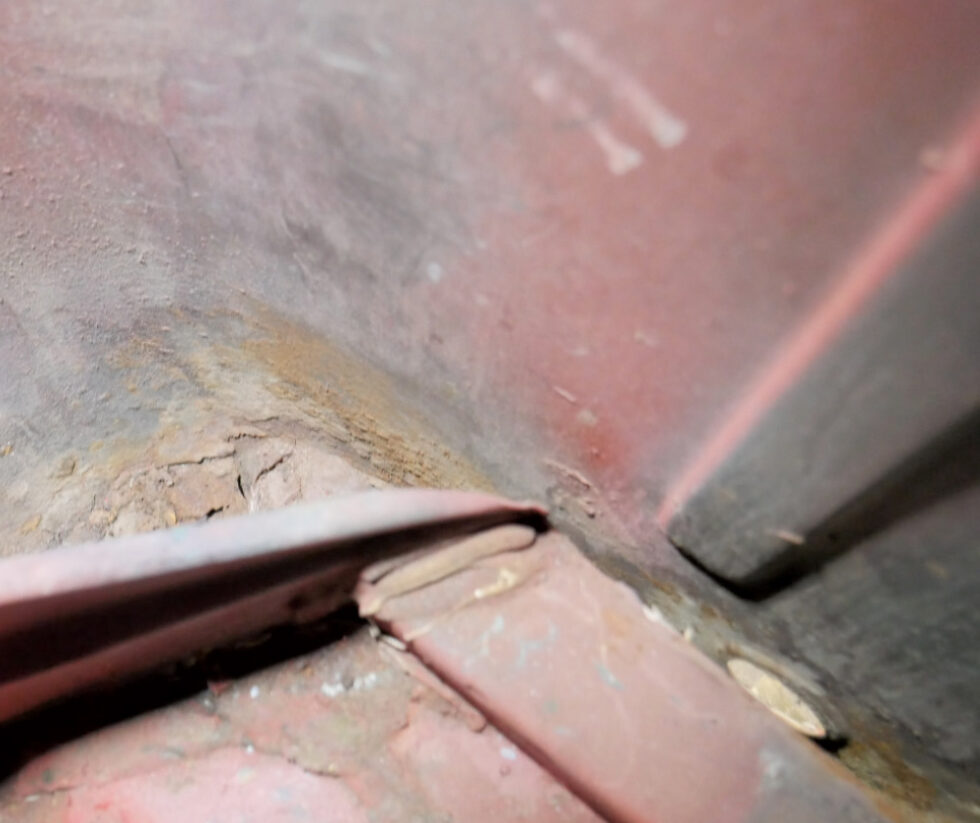
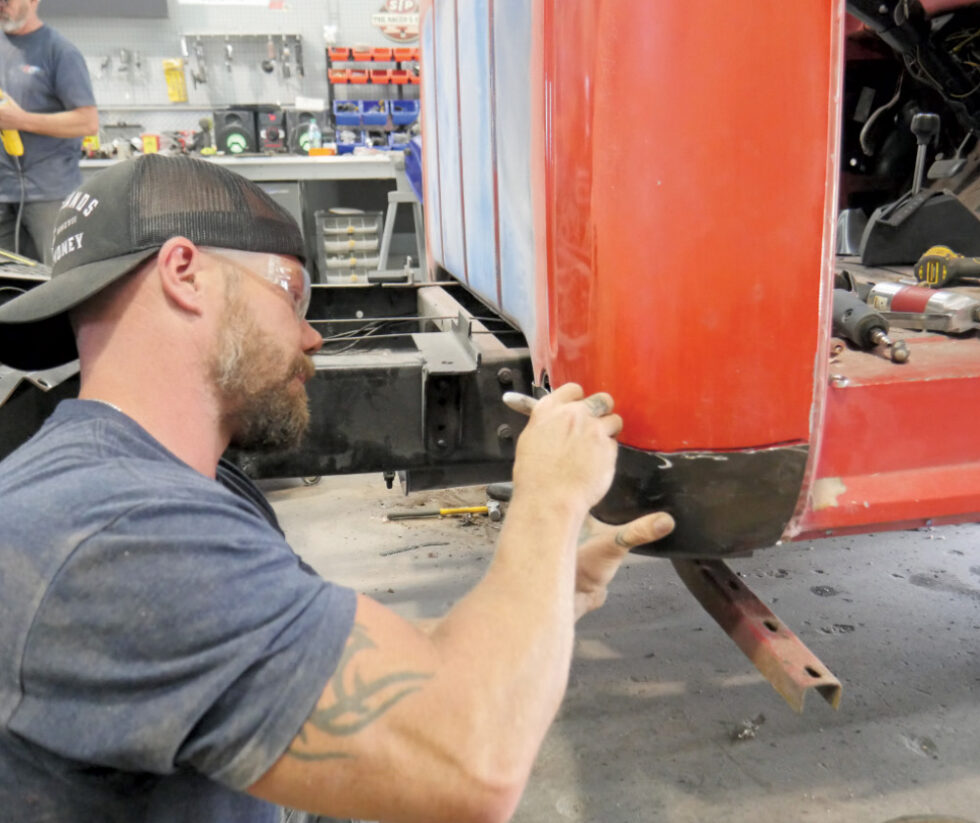
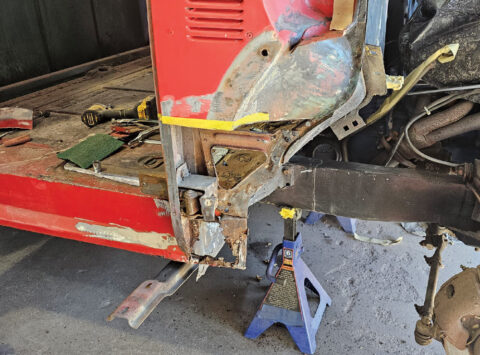
- Cab corners looked OK from 10 feet; close inspection showed they were ready for replacement.

- Inside the corners, old filler and contamination confirmed the need for fresh steel from AMD.
- New AMD cab corners (PN 480-4553 L/R) were staged for install.

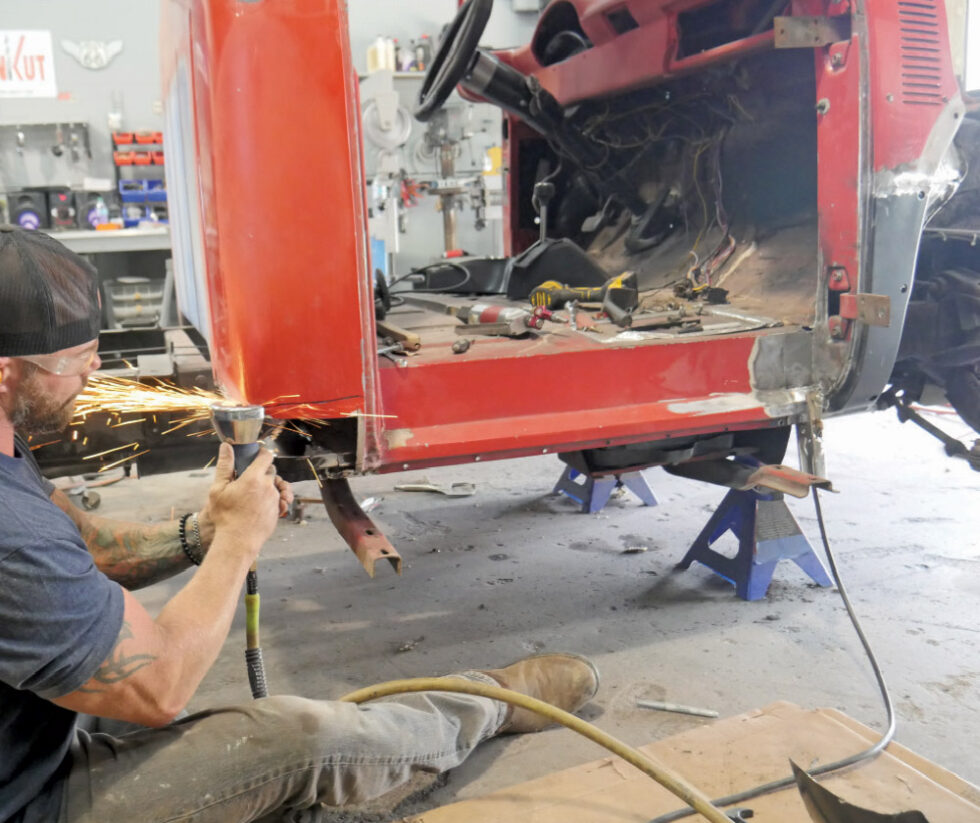
- Cutting revealed heavy filler from a time before high-quality re-pops—common on older restorations.
- Rusty inner corners were removed entirely to make way for new structure.

- Inner cab supports (PN 481-4548 L/R) test-fit cleanly; stampings helped location and alignment.
- After mock-up, the new lower corner was welded in, panel gaps verified.
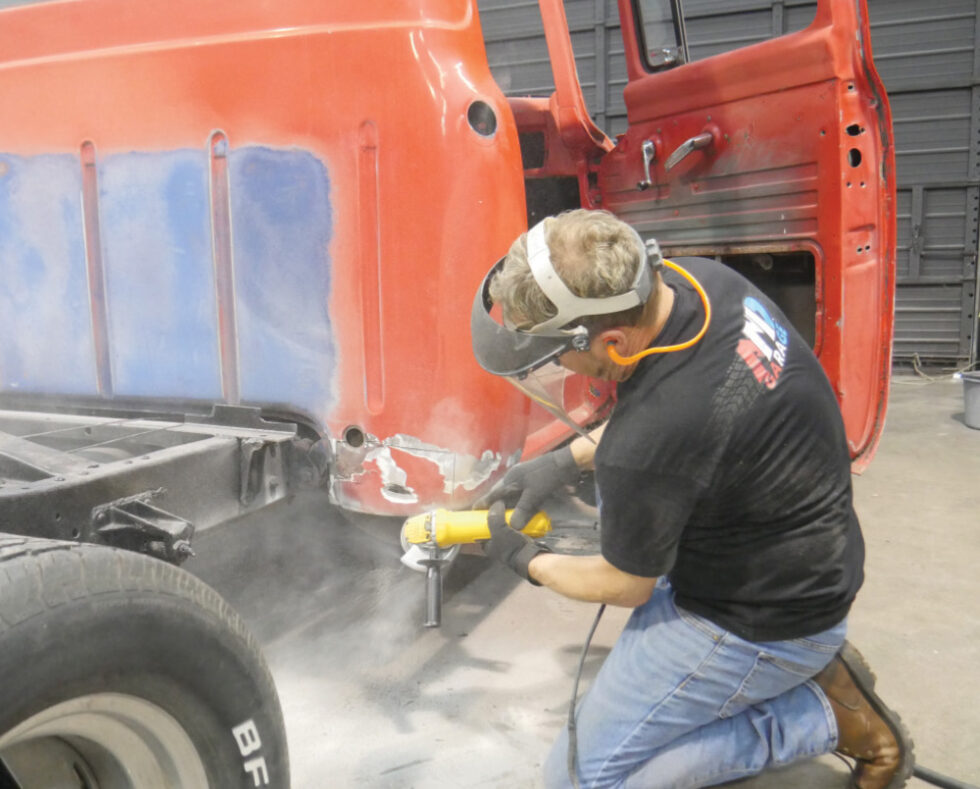
- Welds were dressed flush to prepare for outer skin work.
- Weld-through primer was applied where corrosion could start—smart longevity practice.
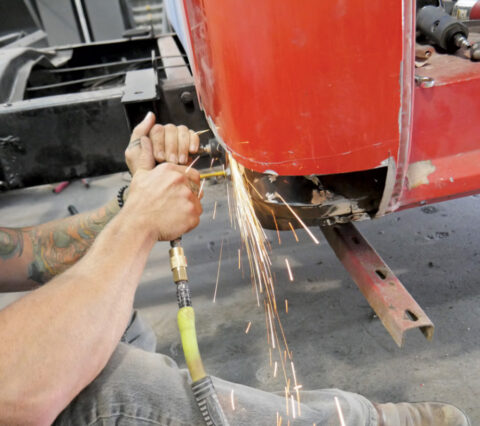
- Cut lines were marked precisely to fit the new outer panel.
- A 1/16" cutoff made just ahead of the line left room for final alignment.
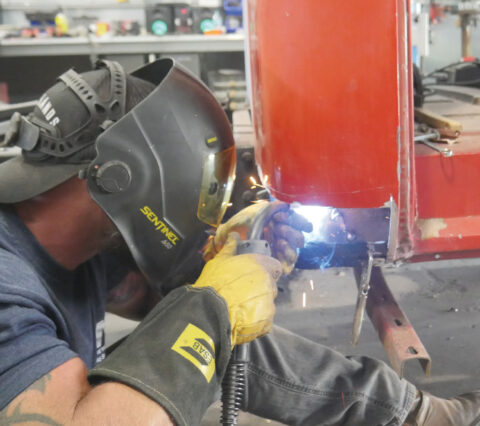
- The AMD outer cab corner was stitched in carefully to control heat and avoid warpage.
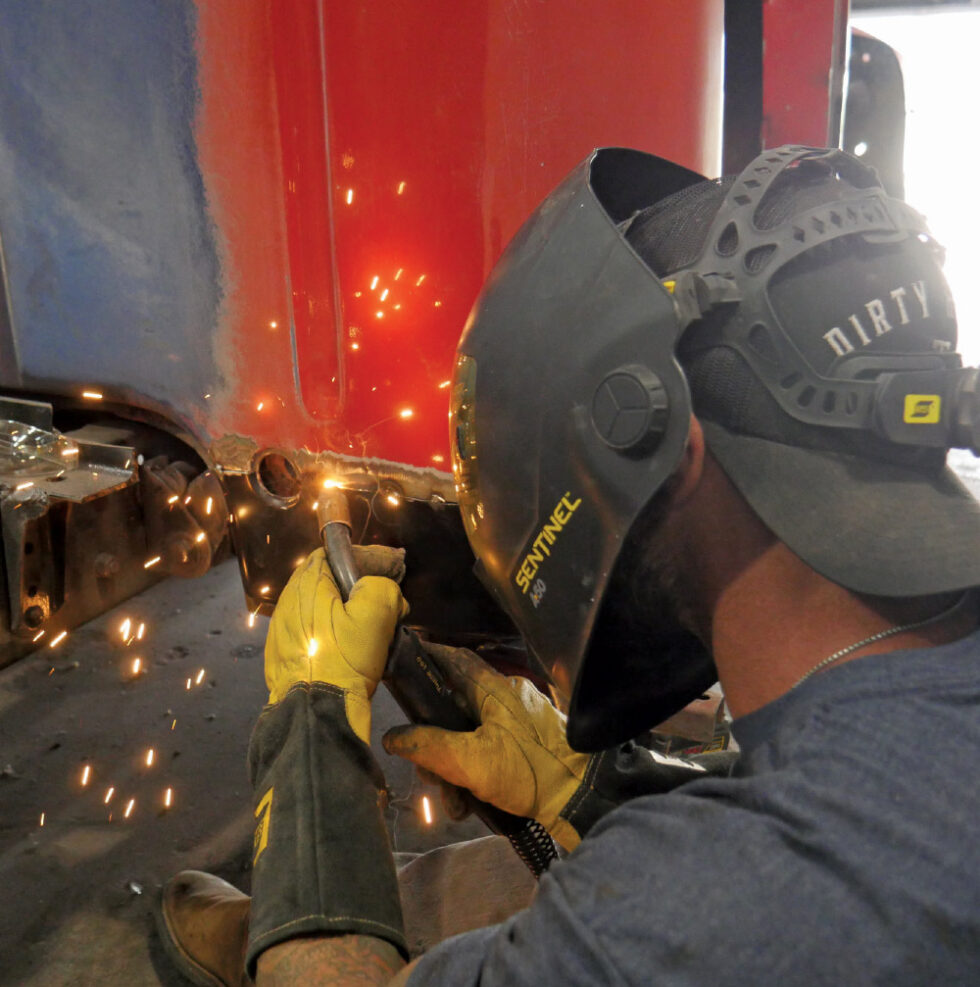
- Teamwork moved multiple stations in parallel; corners and other patches progressed together.

- Welds were smoothed in stages—40, 80, then 180 grit—for a seamless transition.
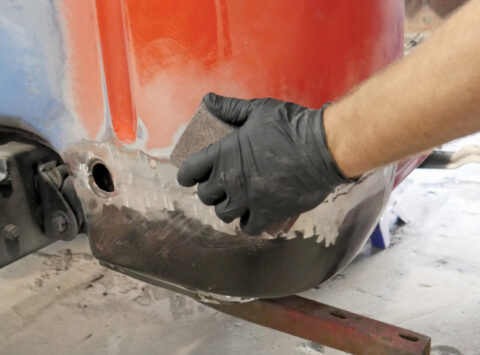
- Filler and polyester primer set the corners up for final paint prep.
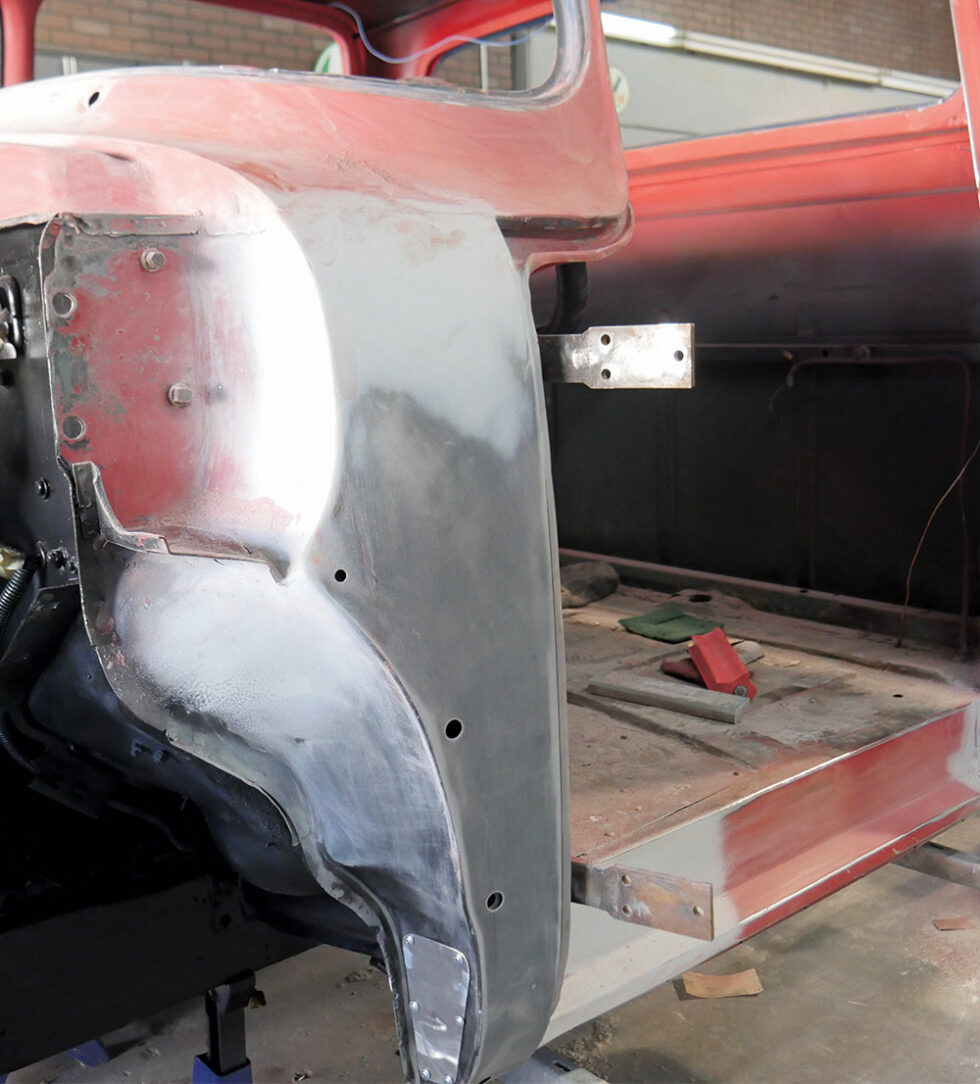
- Front cab corners were refreshed with AMD cowl repair panels (PN 376-4553-2 L/R); simple flat stock handled localized inner repairs.
- Results looked factory-clean; solid inner cab mounts kept this efficient.
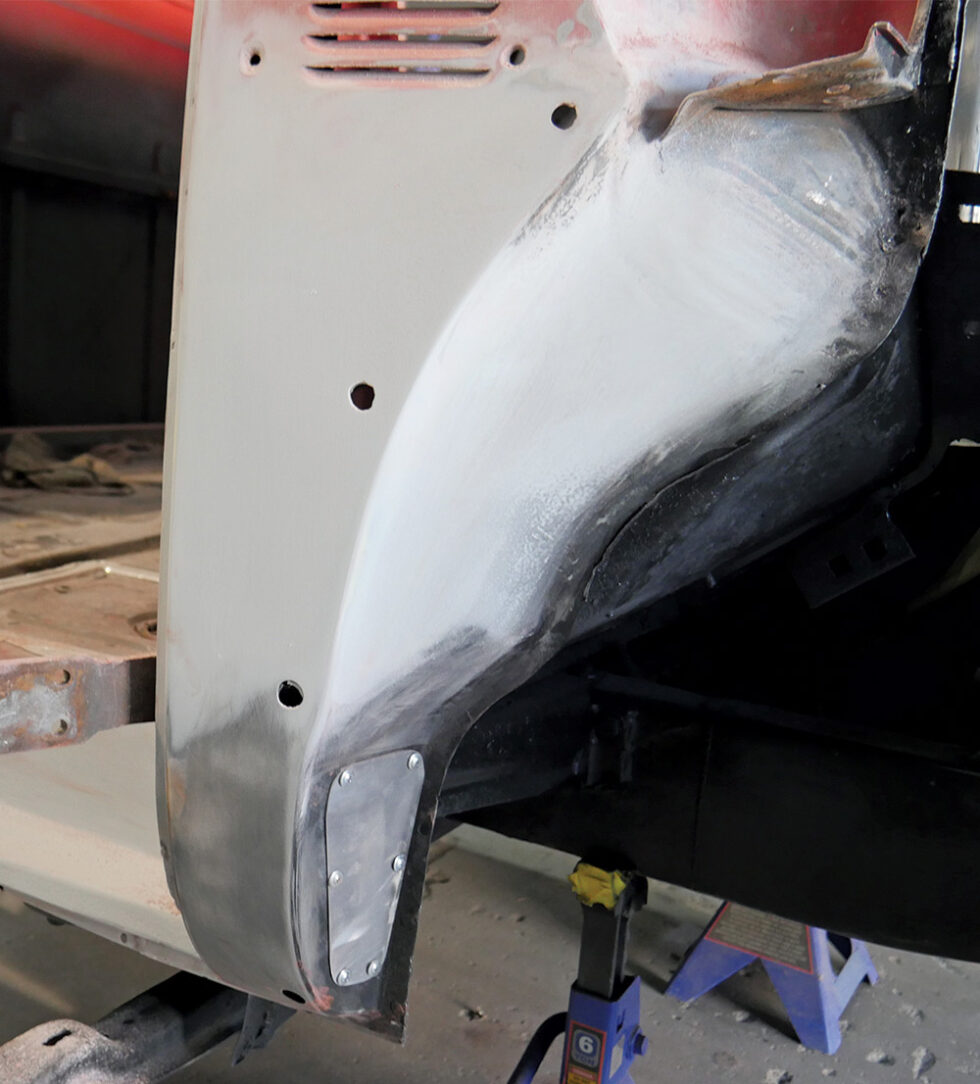
- Custom aluminum pressure-relief covers were fabricated for each side—future product idea!
- New AMD panels arrived straight and damage-free, requiring only scuff-and-shoot prep after mock-ups.
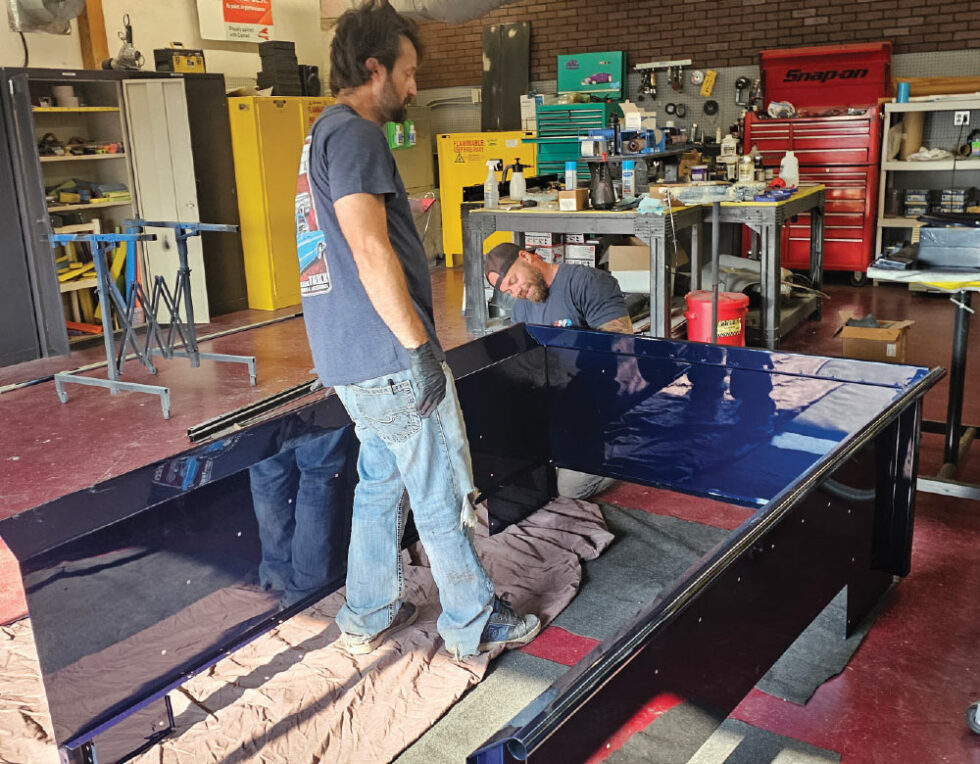
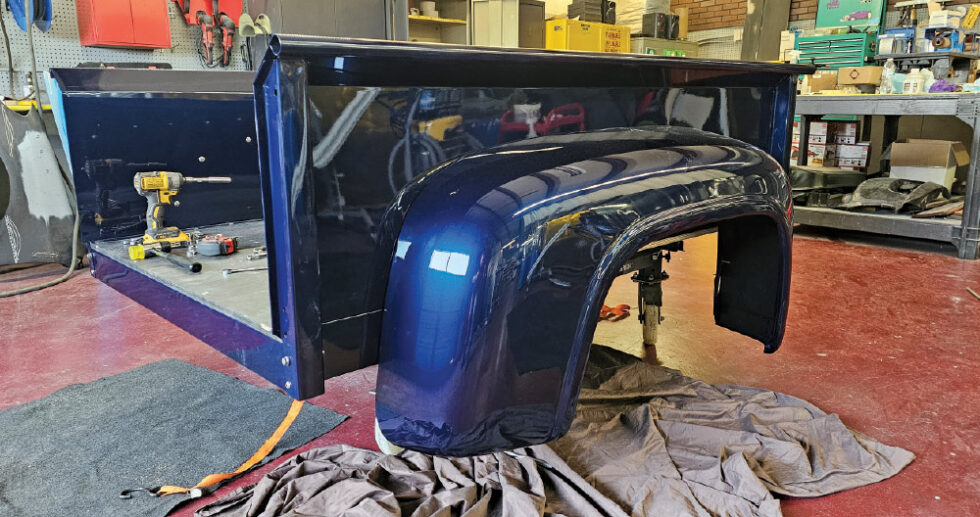
- The bed assembled with cross sills (PN 716-4553-3), bedsides (PN 721-4553), front panel (PN 715-4551), rear fenders (PN 80-4553), and a fender bolt set (PN 15783). Minor slotting and tweaks dialed in the fit.
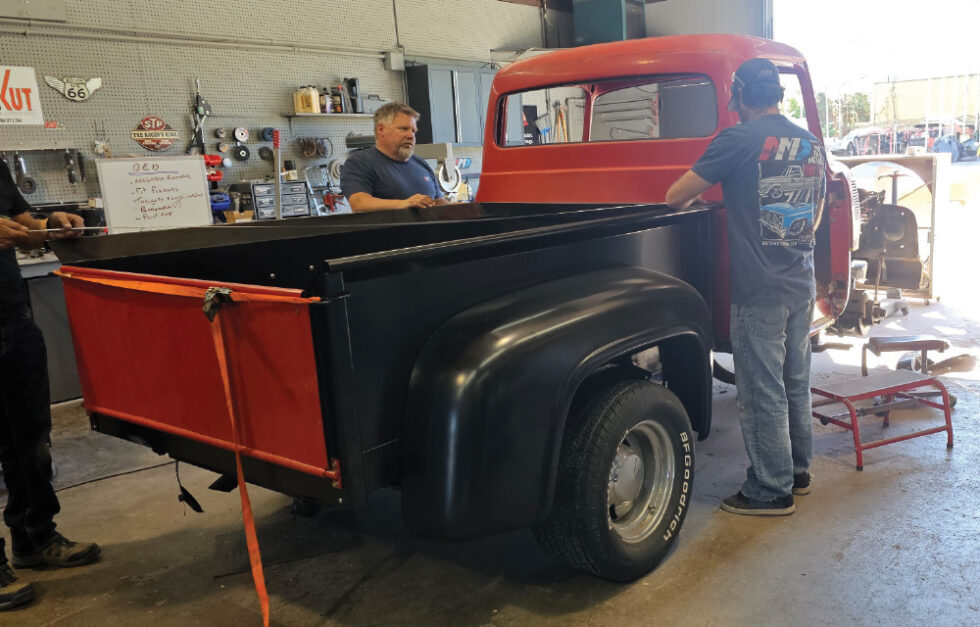
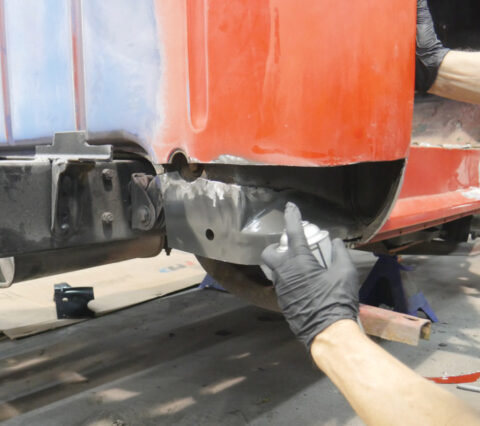
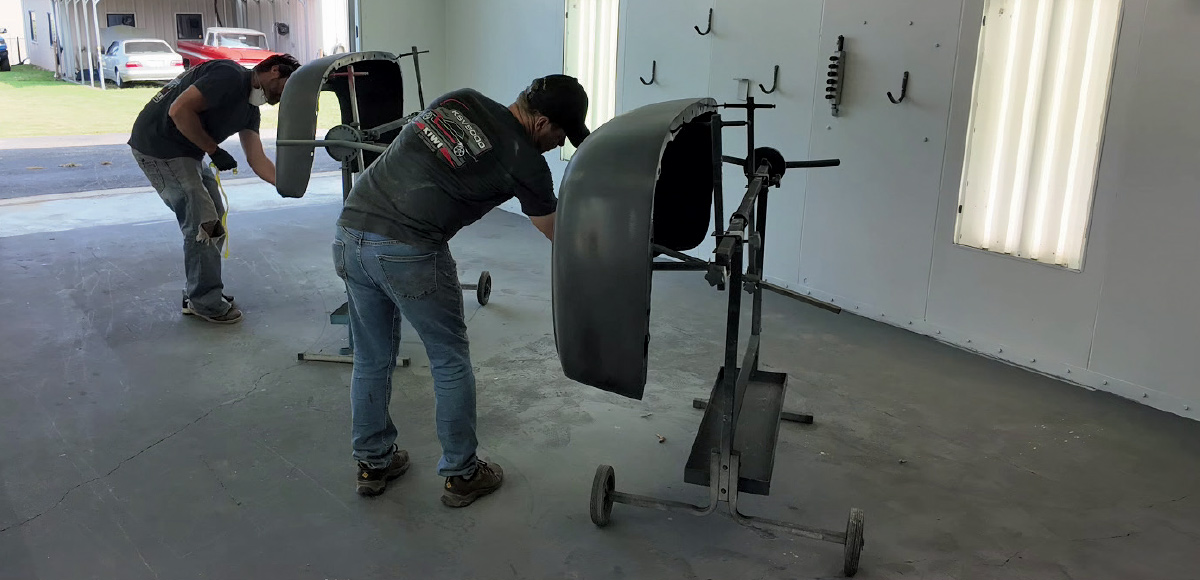
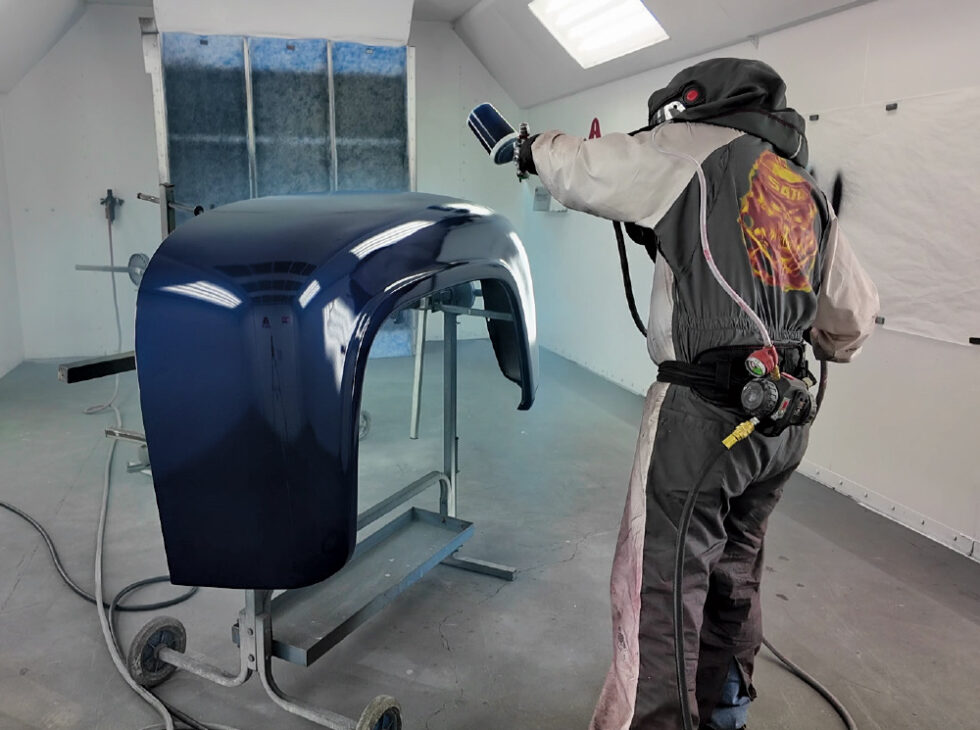
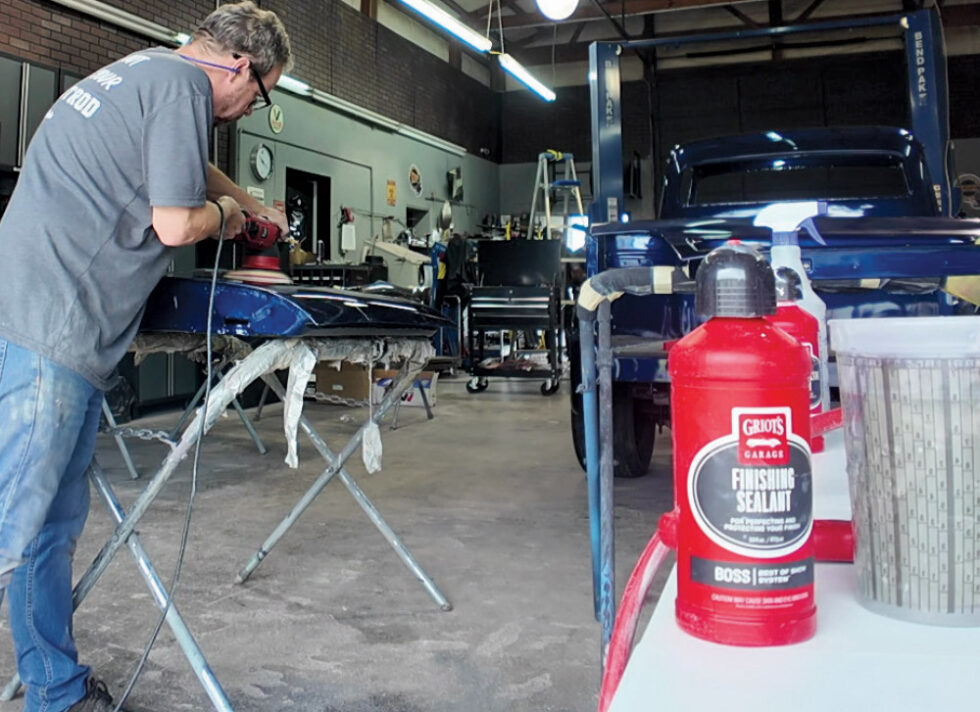
- Rear fenders were lined with protective coating, then sanded for sealer and color.
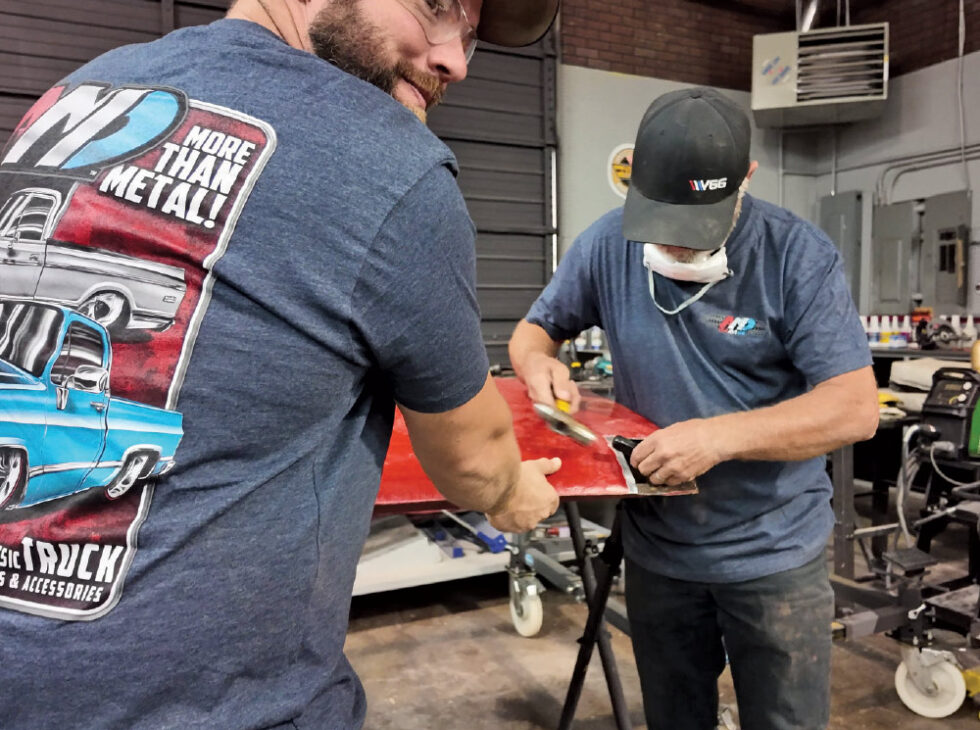
- Door bottoms received fresh metal repairs while paint pieces were prepped.
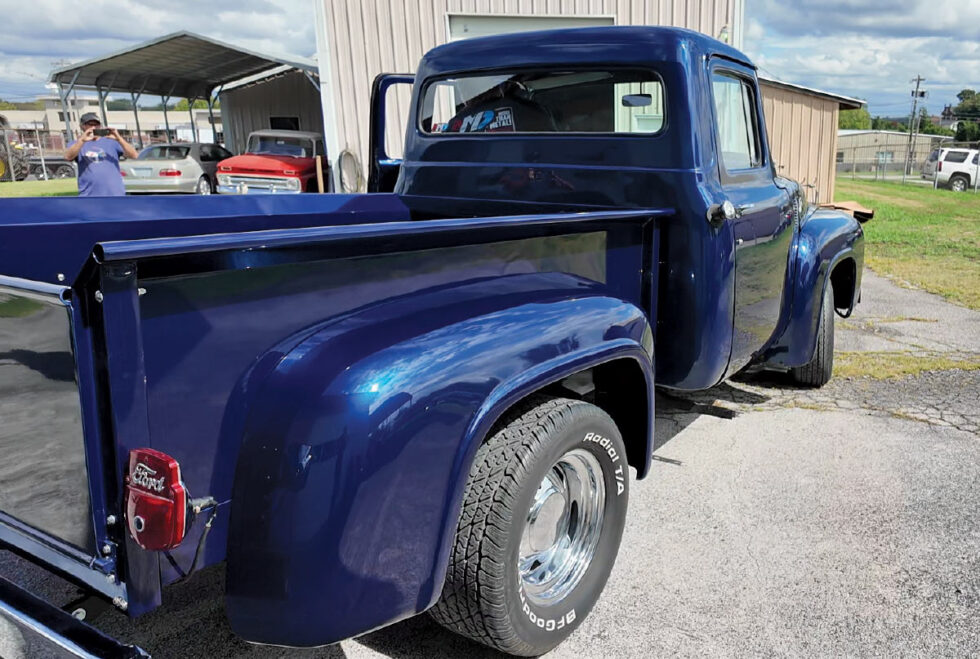
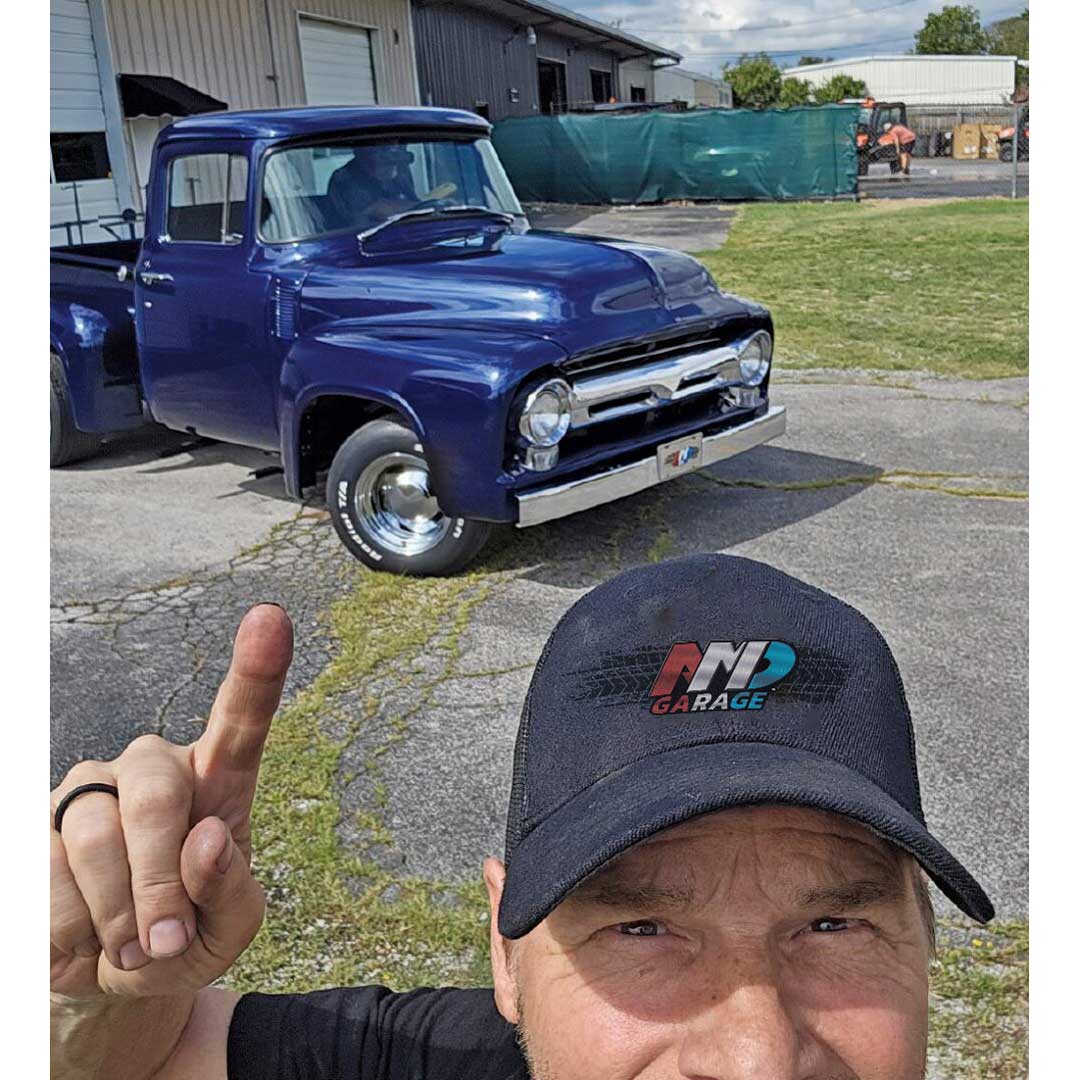
- Indigo Blue (GM WA9792) was the color of choice—timeless on fat-fender F-series.
- Because mock-ups were thorough, final bed assembly post-paint went smoothly.
- AMD stampings looked phenomenal and saved dozens of hours versus reviving crusty originals.
- Cab and misc parts headed into the booth; careful staging made full coverage possible in one session.
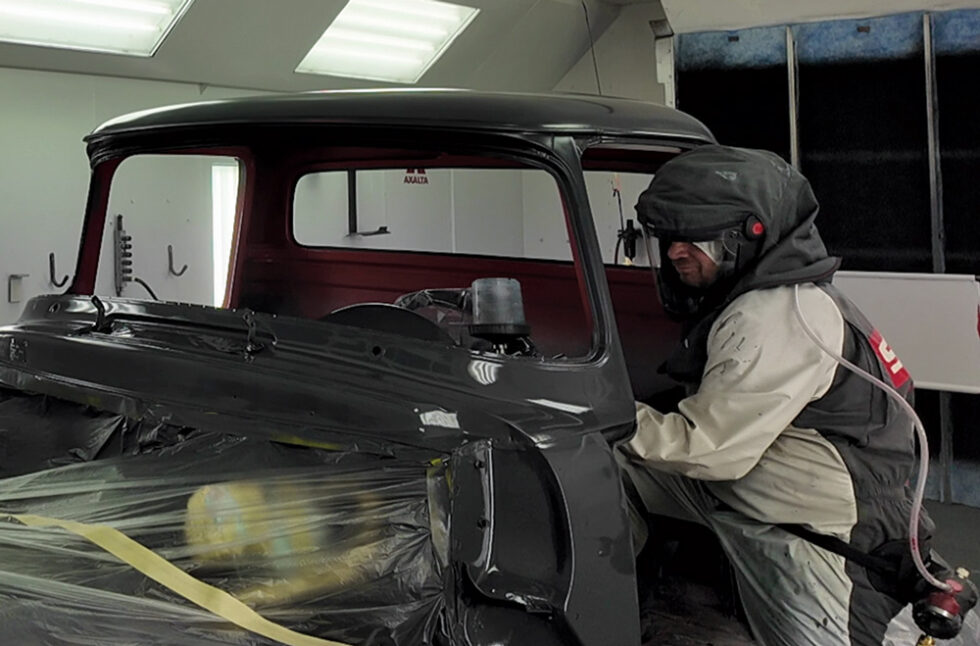
- Base color laid down evenly; total sprayable volume planned to leave extra for remaining pieces.
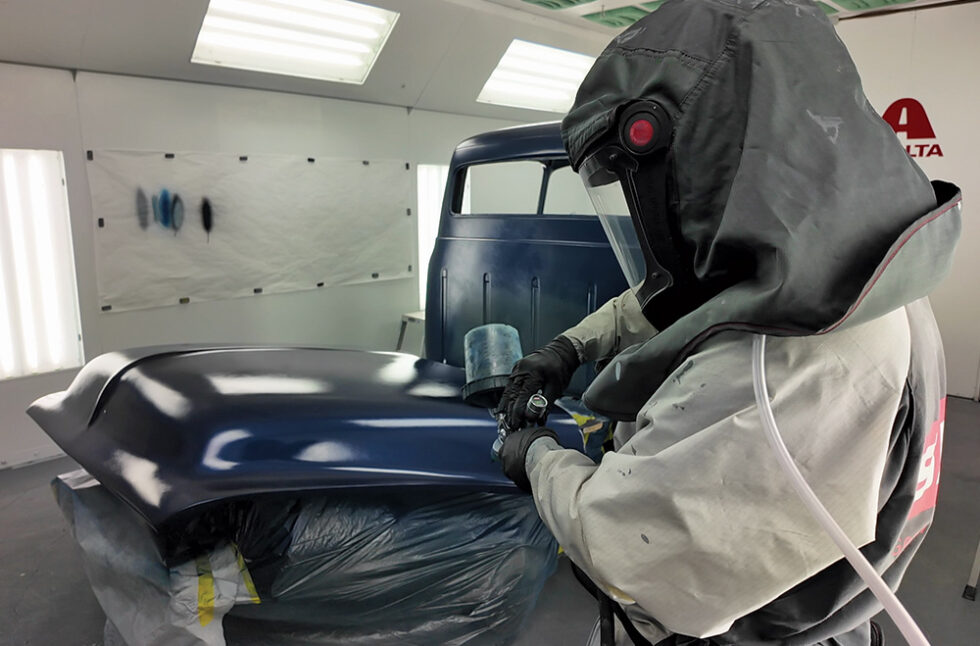
- Clear followed; modern equipment laid it glass-smooth.
- Any dust nibs were carefully corrected and polished to a deep gloss.
- Reassembly included fresh AMD weather seals (PN X580-4556-1), new rear glass, and brightwork for a crisp finish.
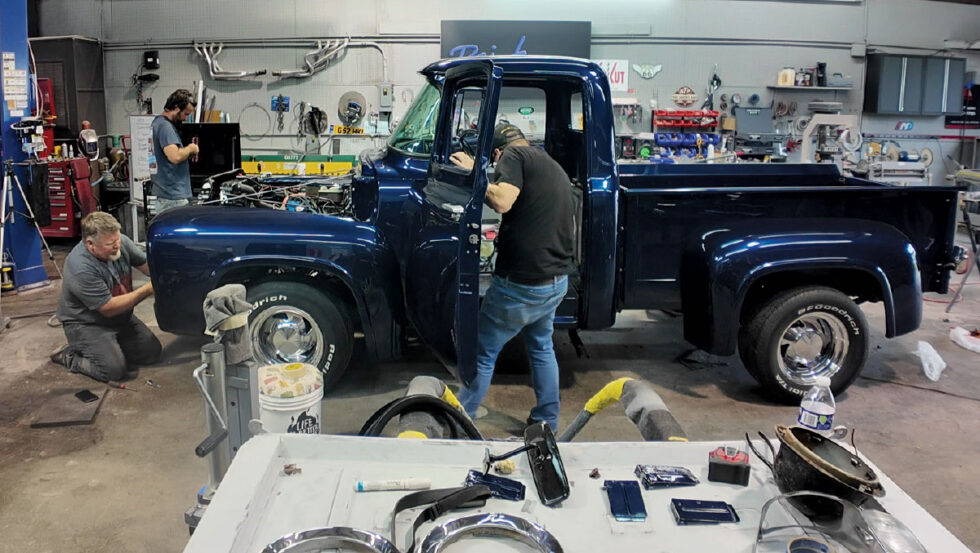
- The end result: a revived ’56 F-100 and a family build packed with memories—made simpler with direct-fit AMD panels.
F-100 AMD Panel FAQs
Do these AMD panels fit all 1953–1956 Ford F-100 models?
Yes—AMD designs OE-style panels for this generation. Always test-fit prior to welding or finishing.
What prep is recommended before welding?
Dry-fit panels, verify gaps, use weld-through primer where seams overlap, and manage heat to prevent warpage.
Are AMD panels EDP coated?
Panels typically arrive with an EDP coating to protect against corrosion during mock-up and prep.
Where can I shop all 1956 F-100 AMD parts?
Browse the full catalog here: 1956 F-100 AMD Parts.
Related Articles
ALL NEW TRIM for your Mopar A-Body
Jan 3, 2025 by Jason
Tech Articles
Making an A-body Whole Again with Hard to Find Metal from AMD
Aug 29, 2024 by Jason
Tech Articles